

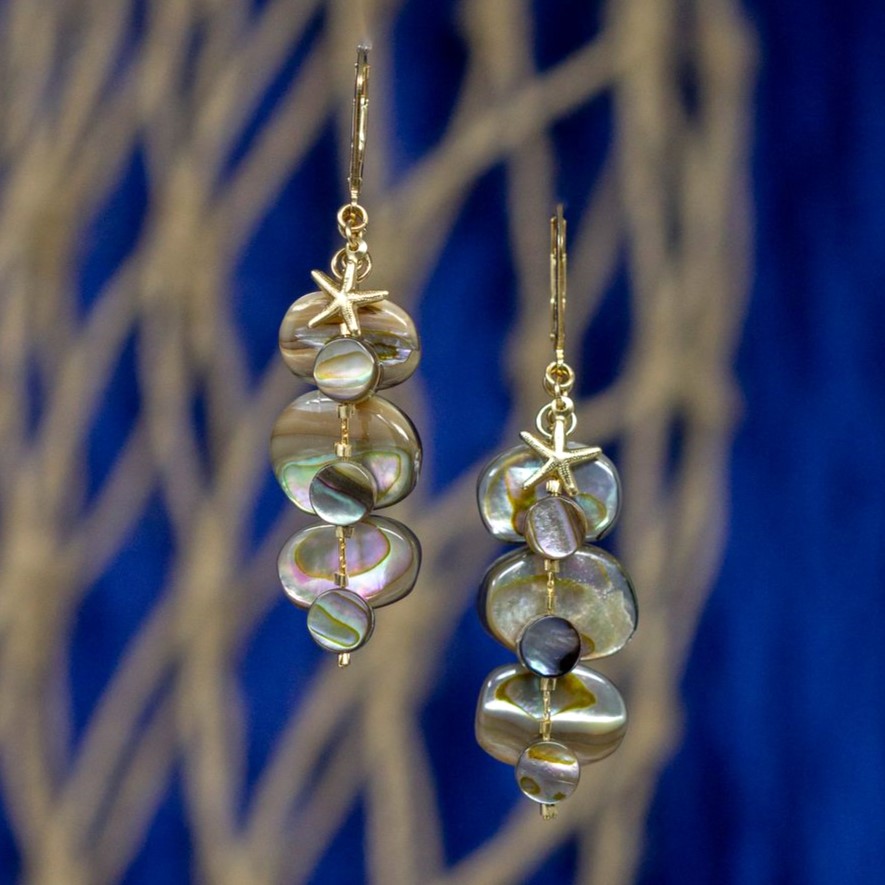
"Abalone Sea" Dangle Earrings
"Abalone Sea" Dangle Earrings
In this tutorial, you'll blend delicate design with the luminescent beauty of abalone shell. Follow along as we combine simple materials with the exquisite allure of abalone shells to create stunning statement pieces that capture the essence of the ocean.
Materials Needed:
Length approx. 2":
- 14K Gold Filled .6mm Euro Chain (4 inches) You can also use Gold Plated .7mm Beading Chain - we also have a silver option
- 14K Gold Filled 2x1mm Crimps (2 packs of 20)
- 1mm Crimp End Cap 14K Gold Filled (1 Pair) You can find it in silver here (just slightly larger)
- Gold Filled 2" 24 Gauge Ball End Head Pins (2)
- Abalone 6mm Double Sided Coin (6)
- Abalone 10x15mm Double Sided center Drill Freeform Oval (6)
- 14K Gold Filled Plain Lever back Earrings (1 Pair)
- 14K Gold Filled 9x7mm Starfish Charm (2)
Tools Required:
Needle Nose Pliers (2) (also known as chain nose)
GS-HYPO Cement (red tube)
Sharpie
Instructions on Construction:
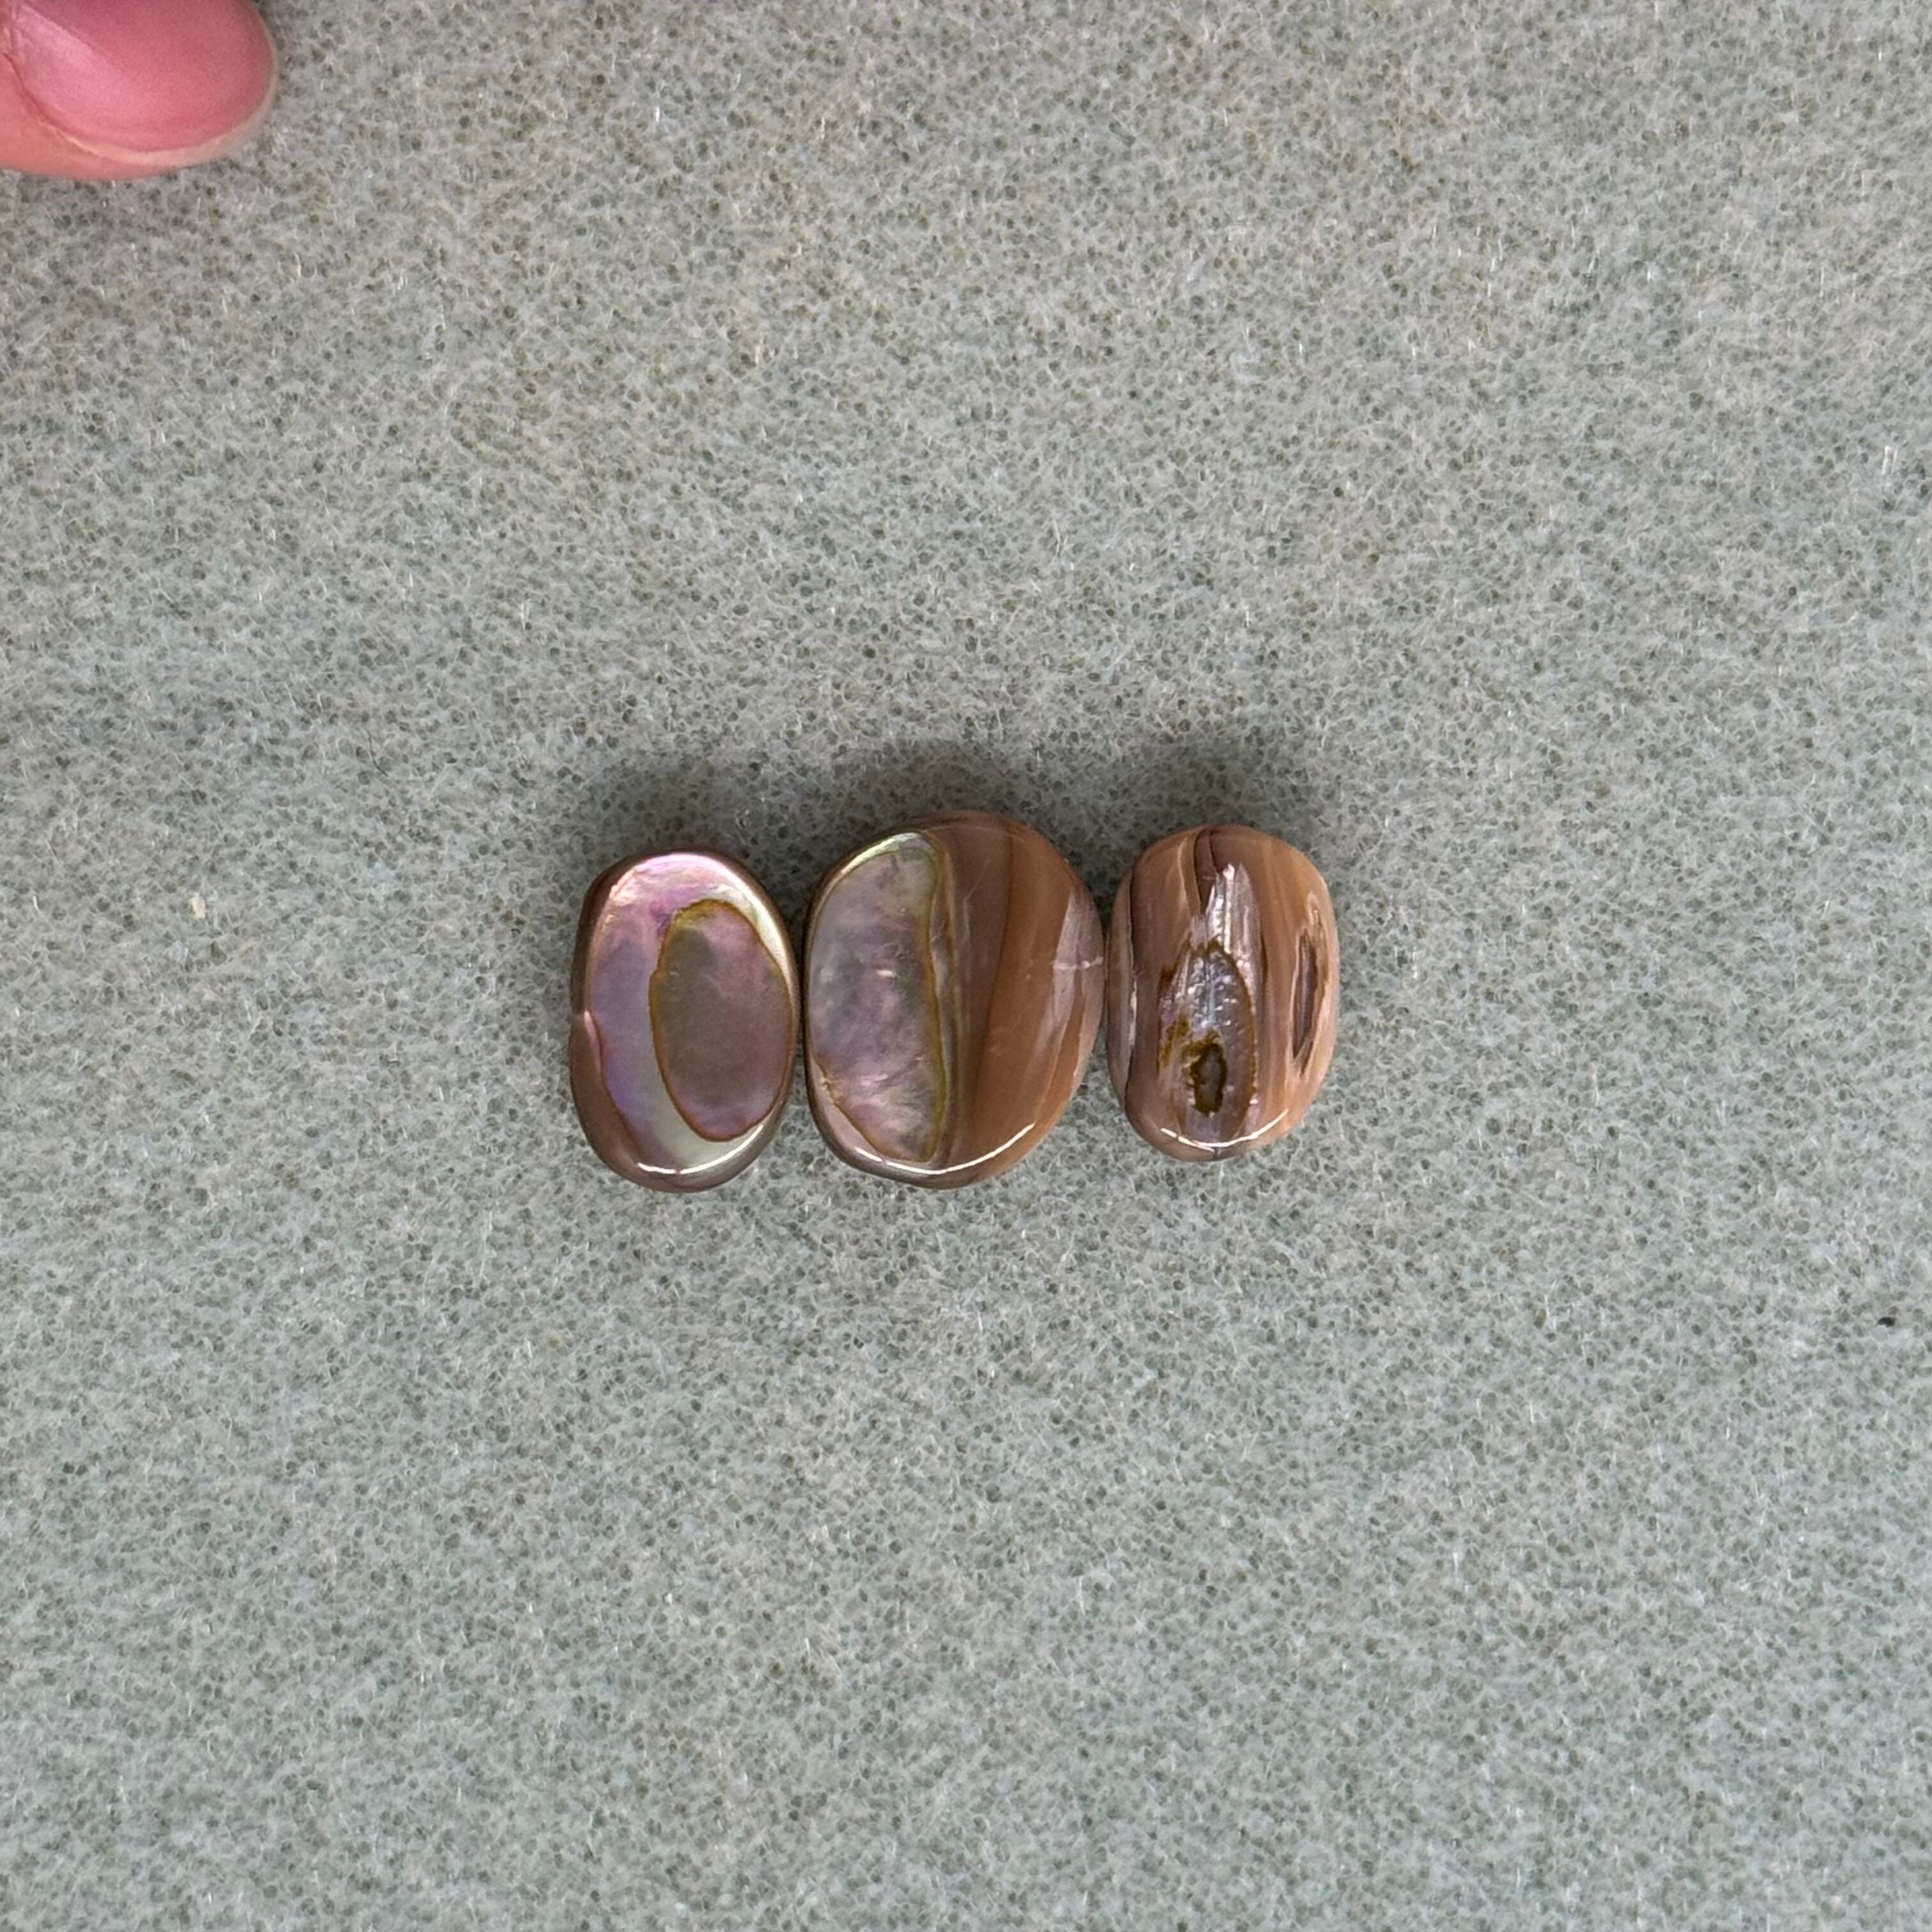
1. Line up 3 of the abalone free form oval beads however you desire. I preferred to have the largest of the 3 in the middle
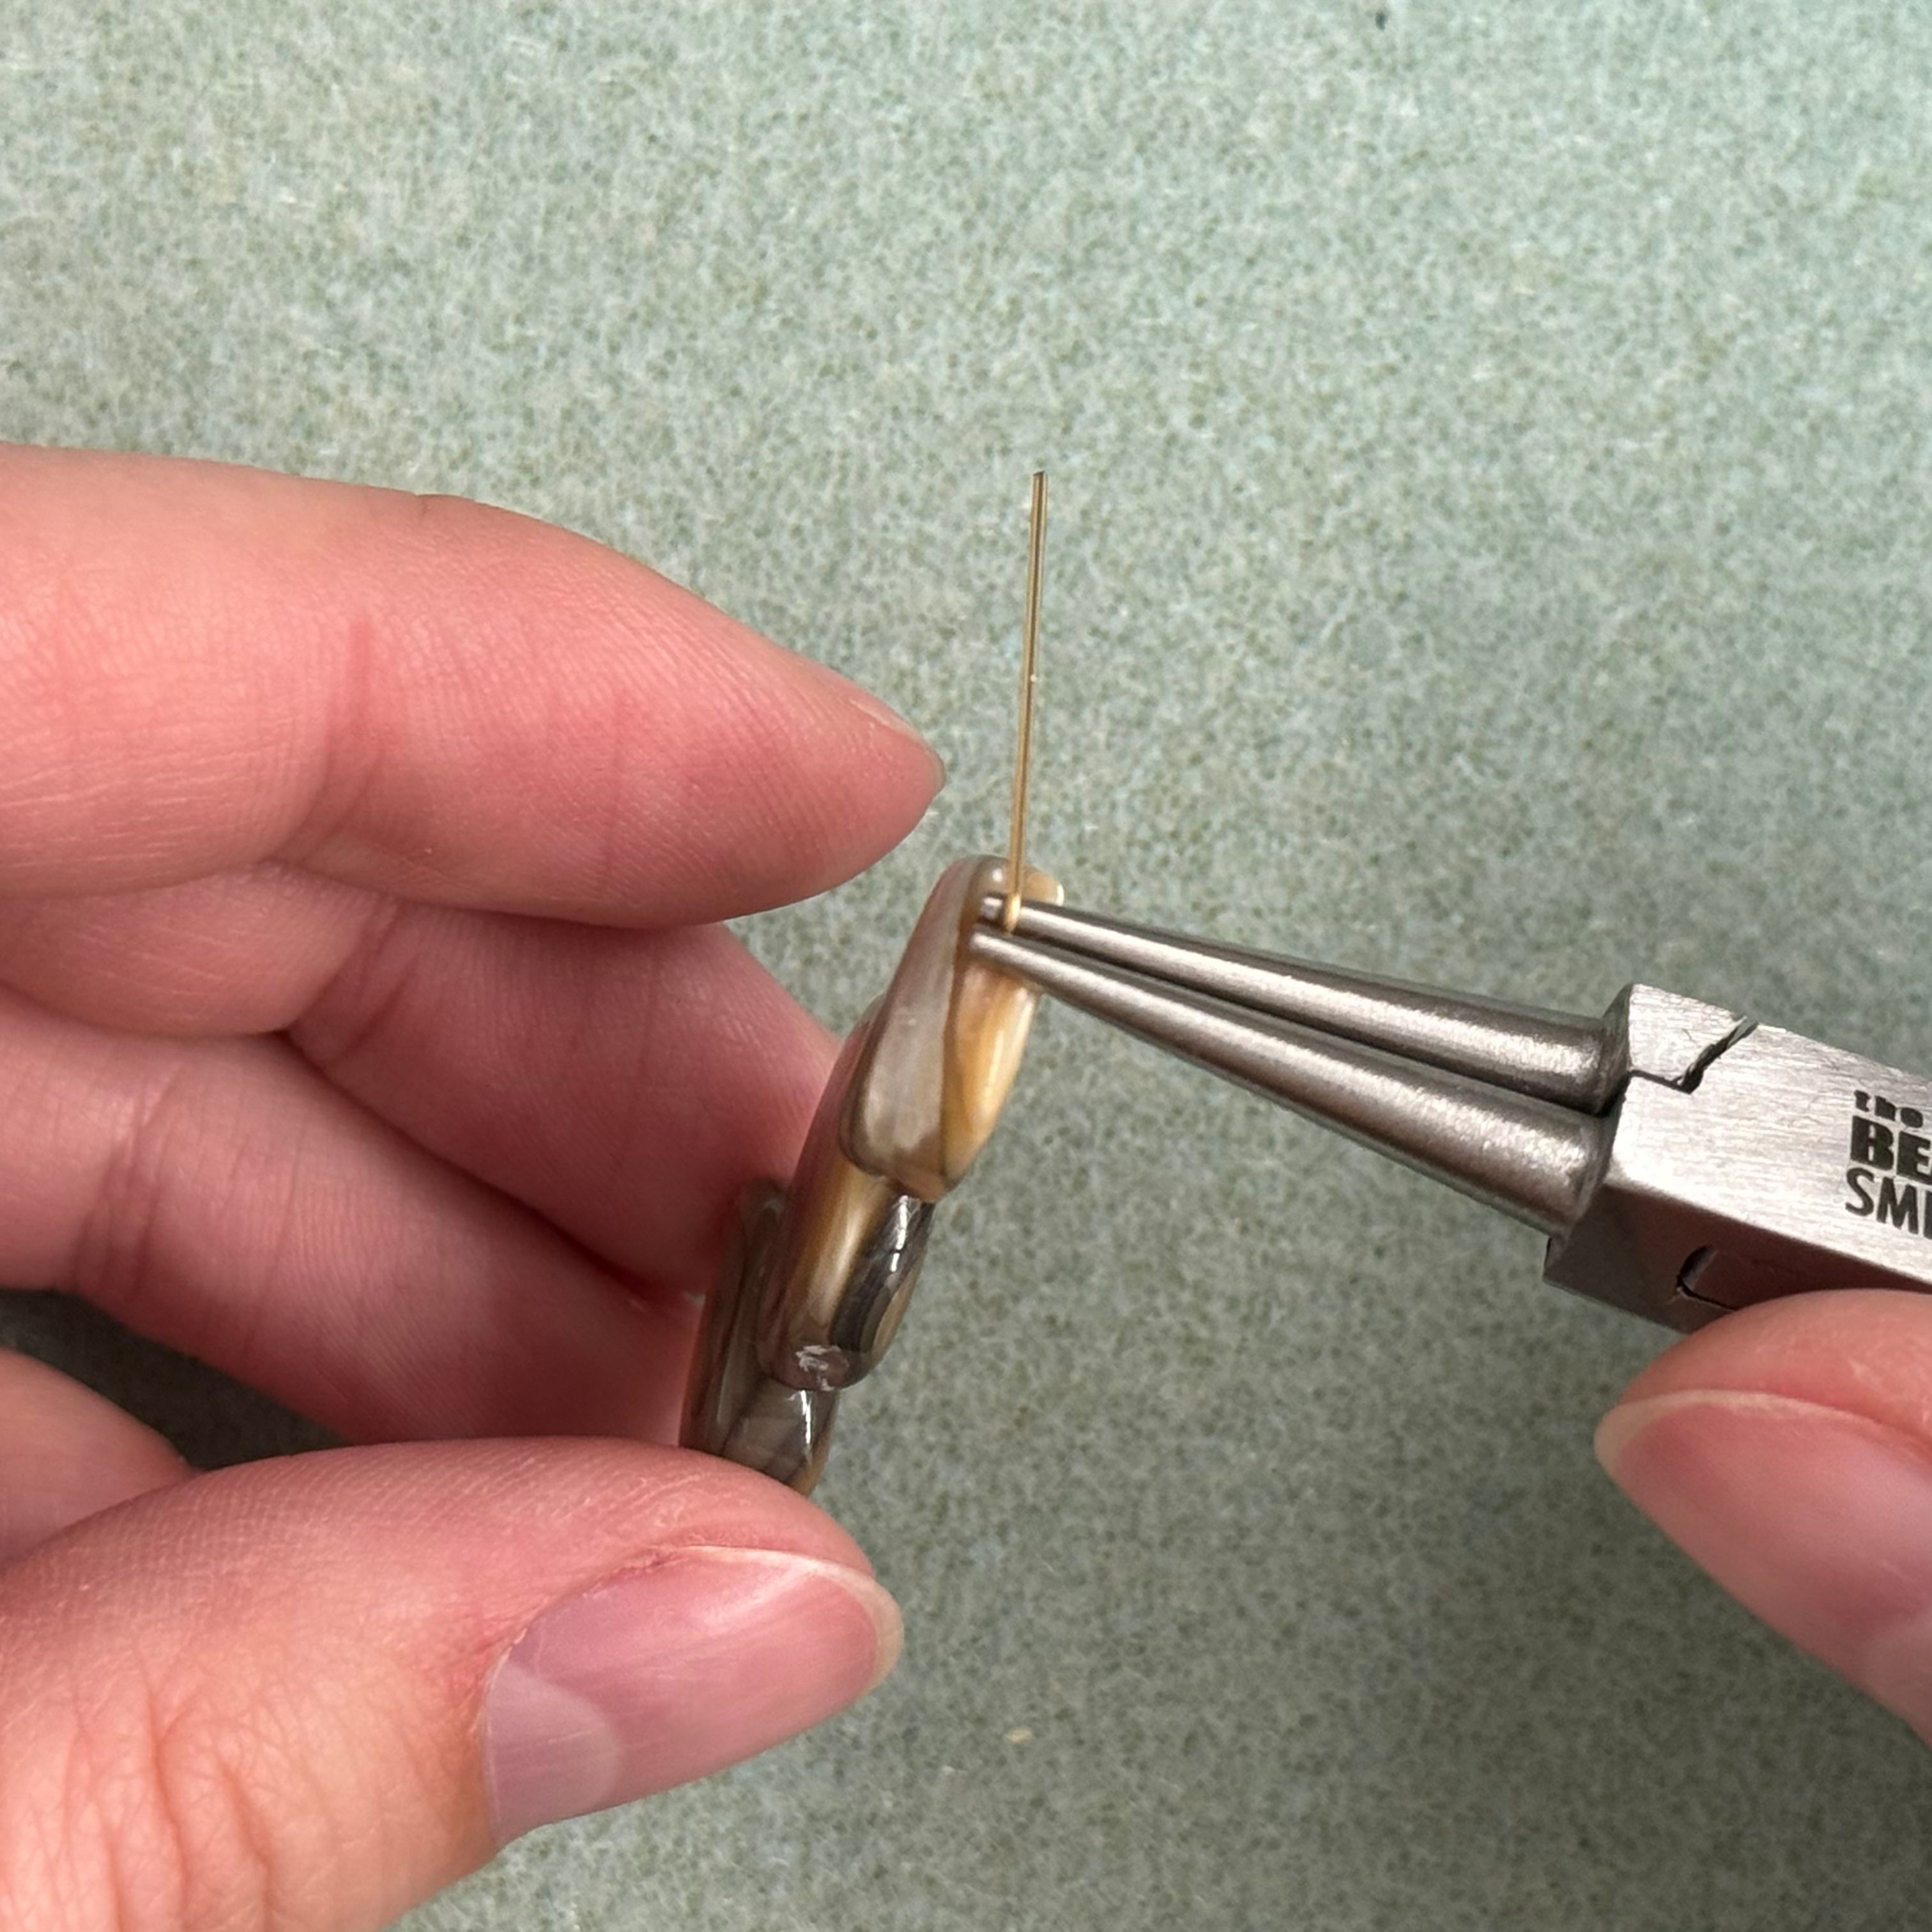
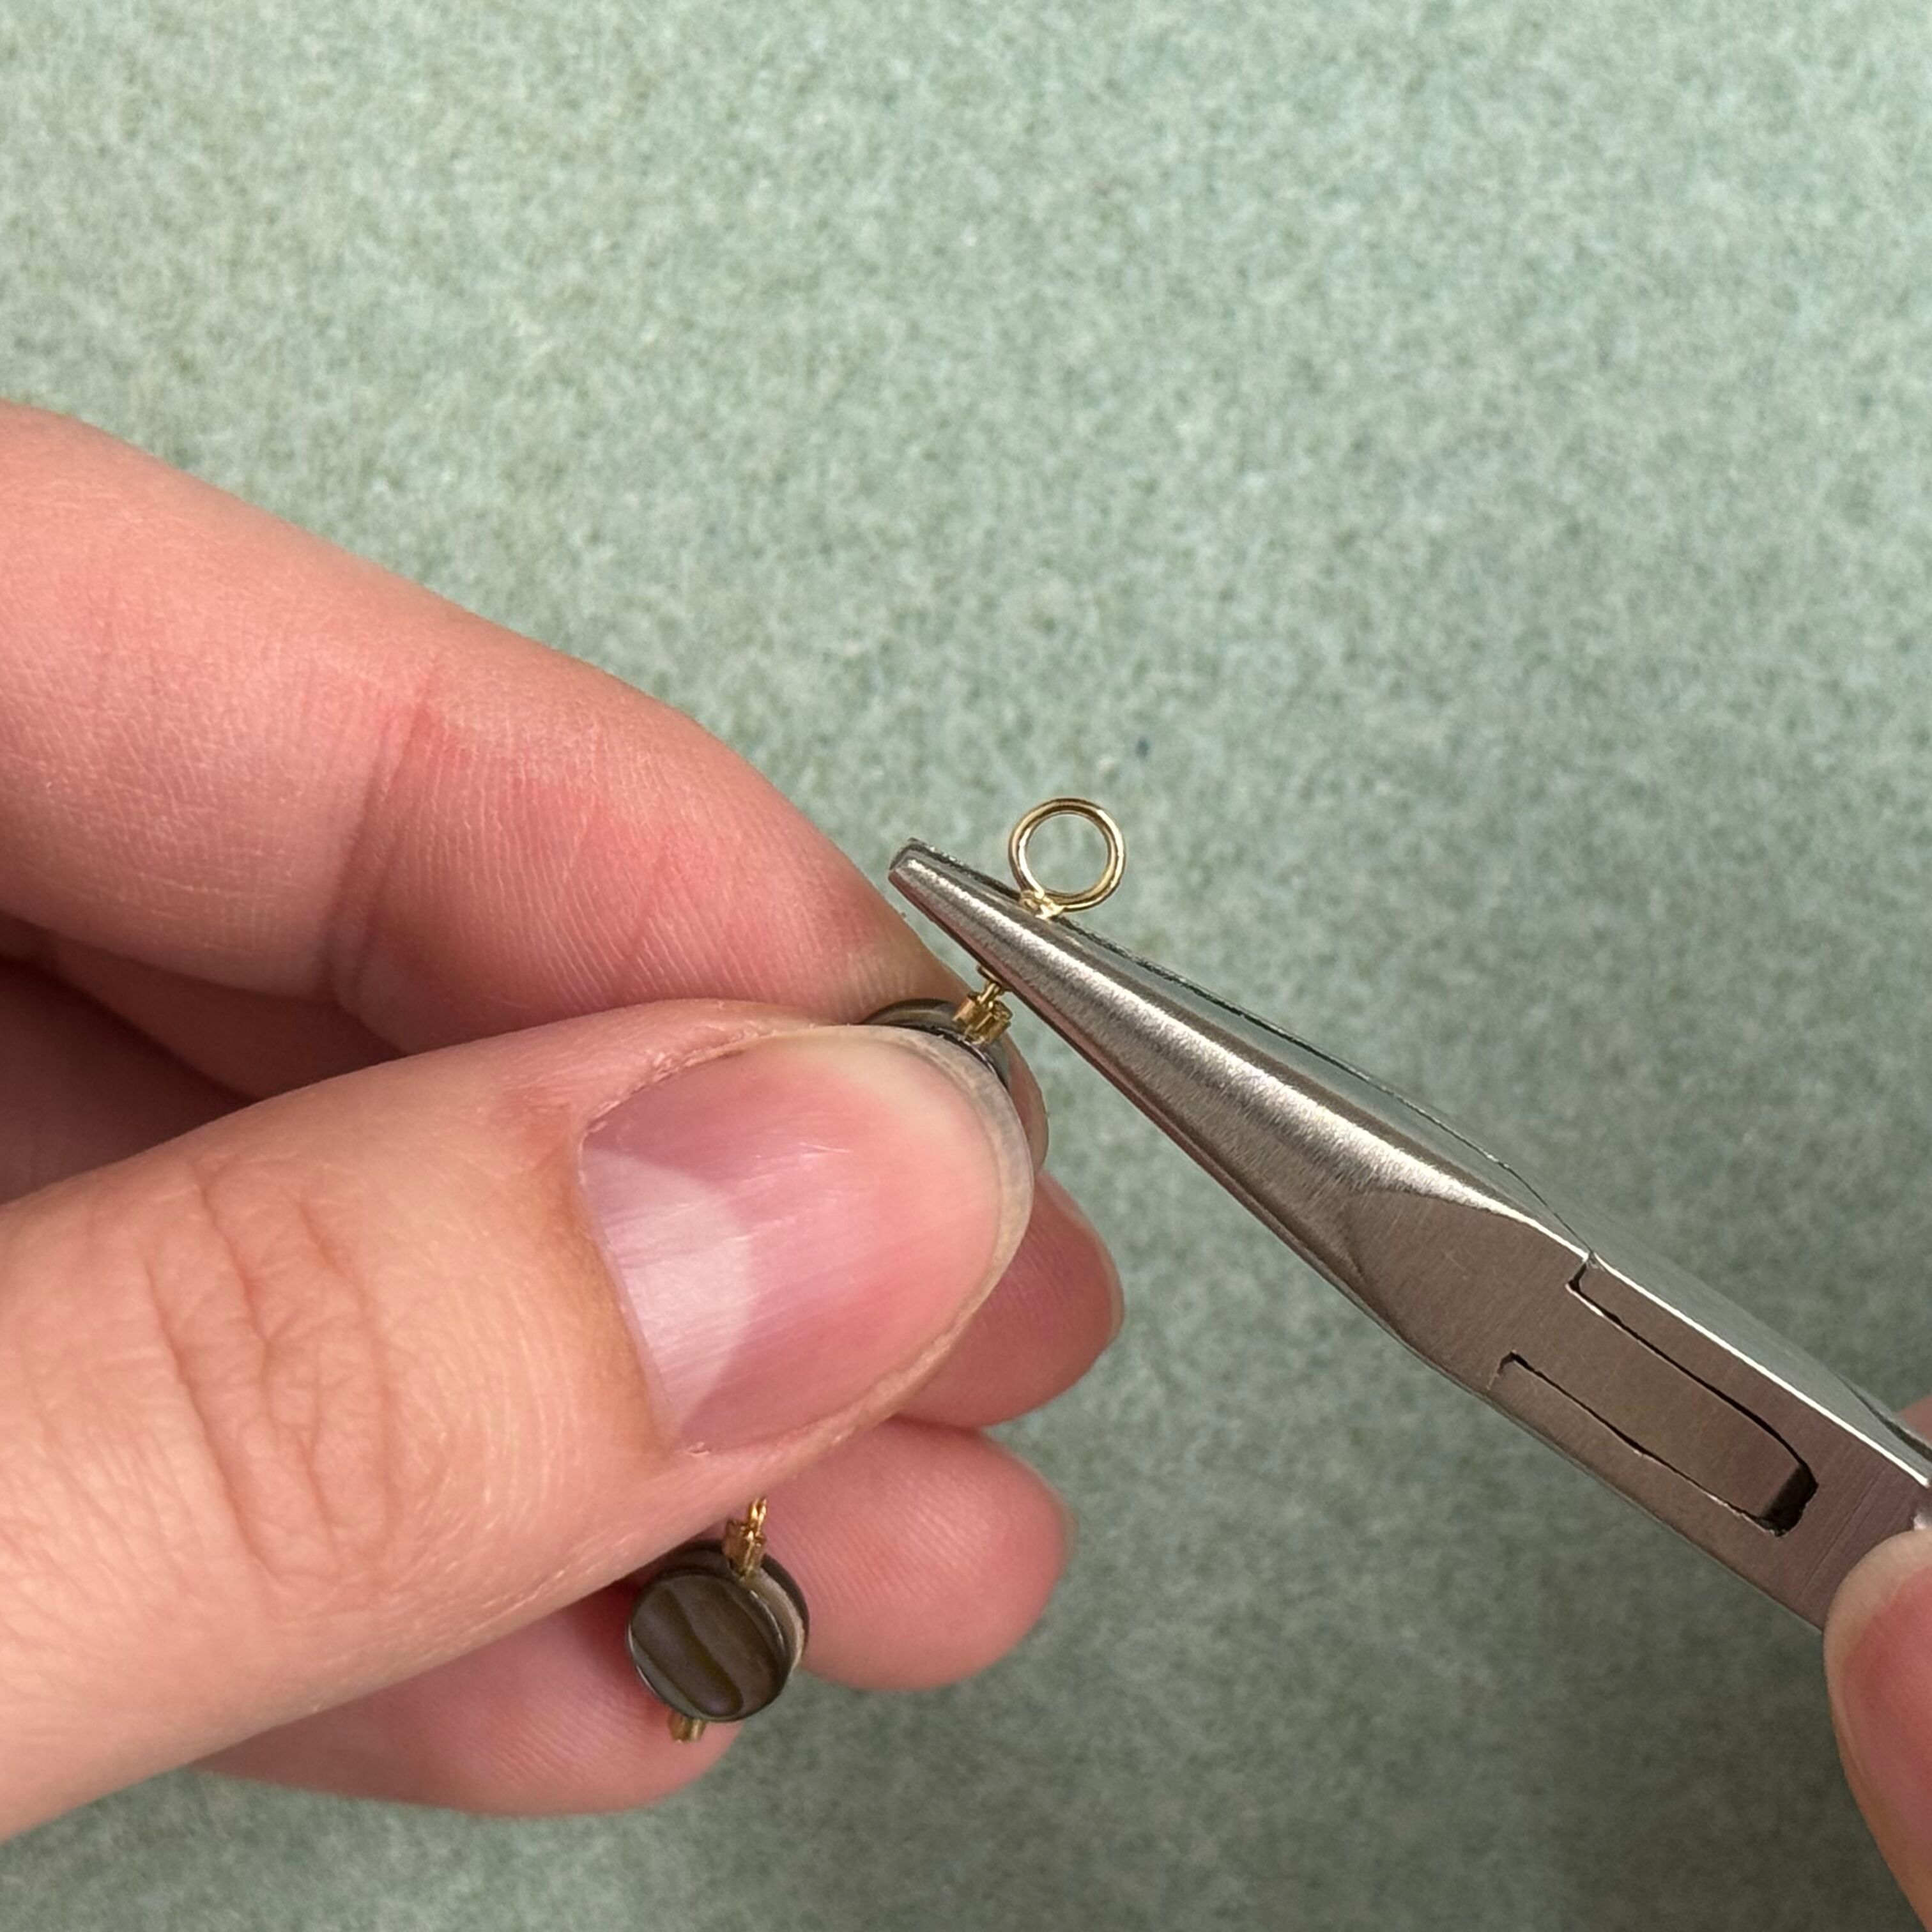
2. Add the beads in the same order onto a headpin and wire wrap a loop
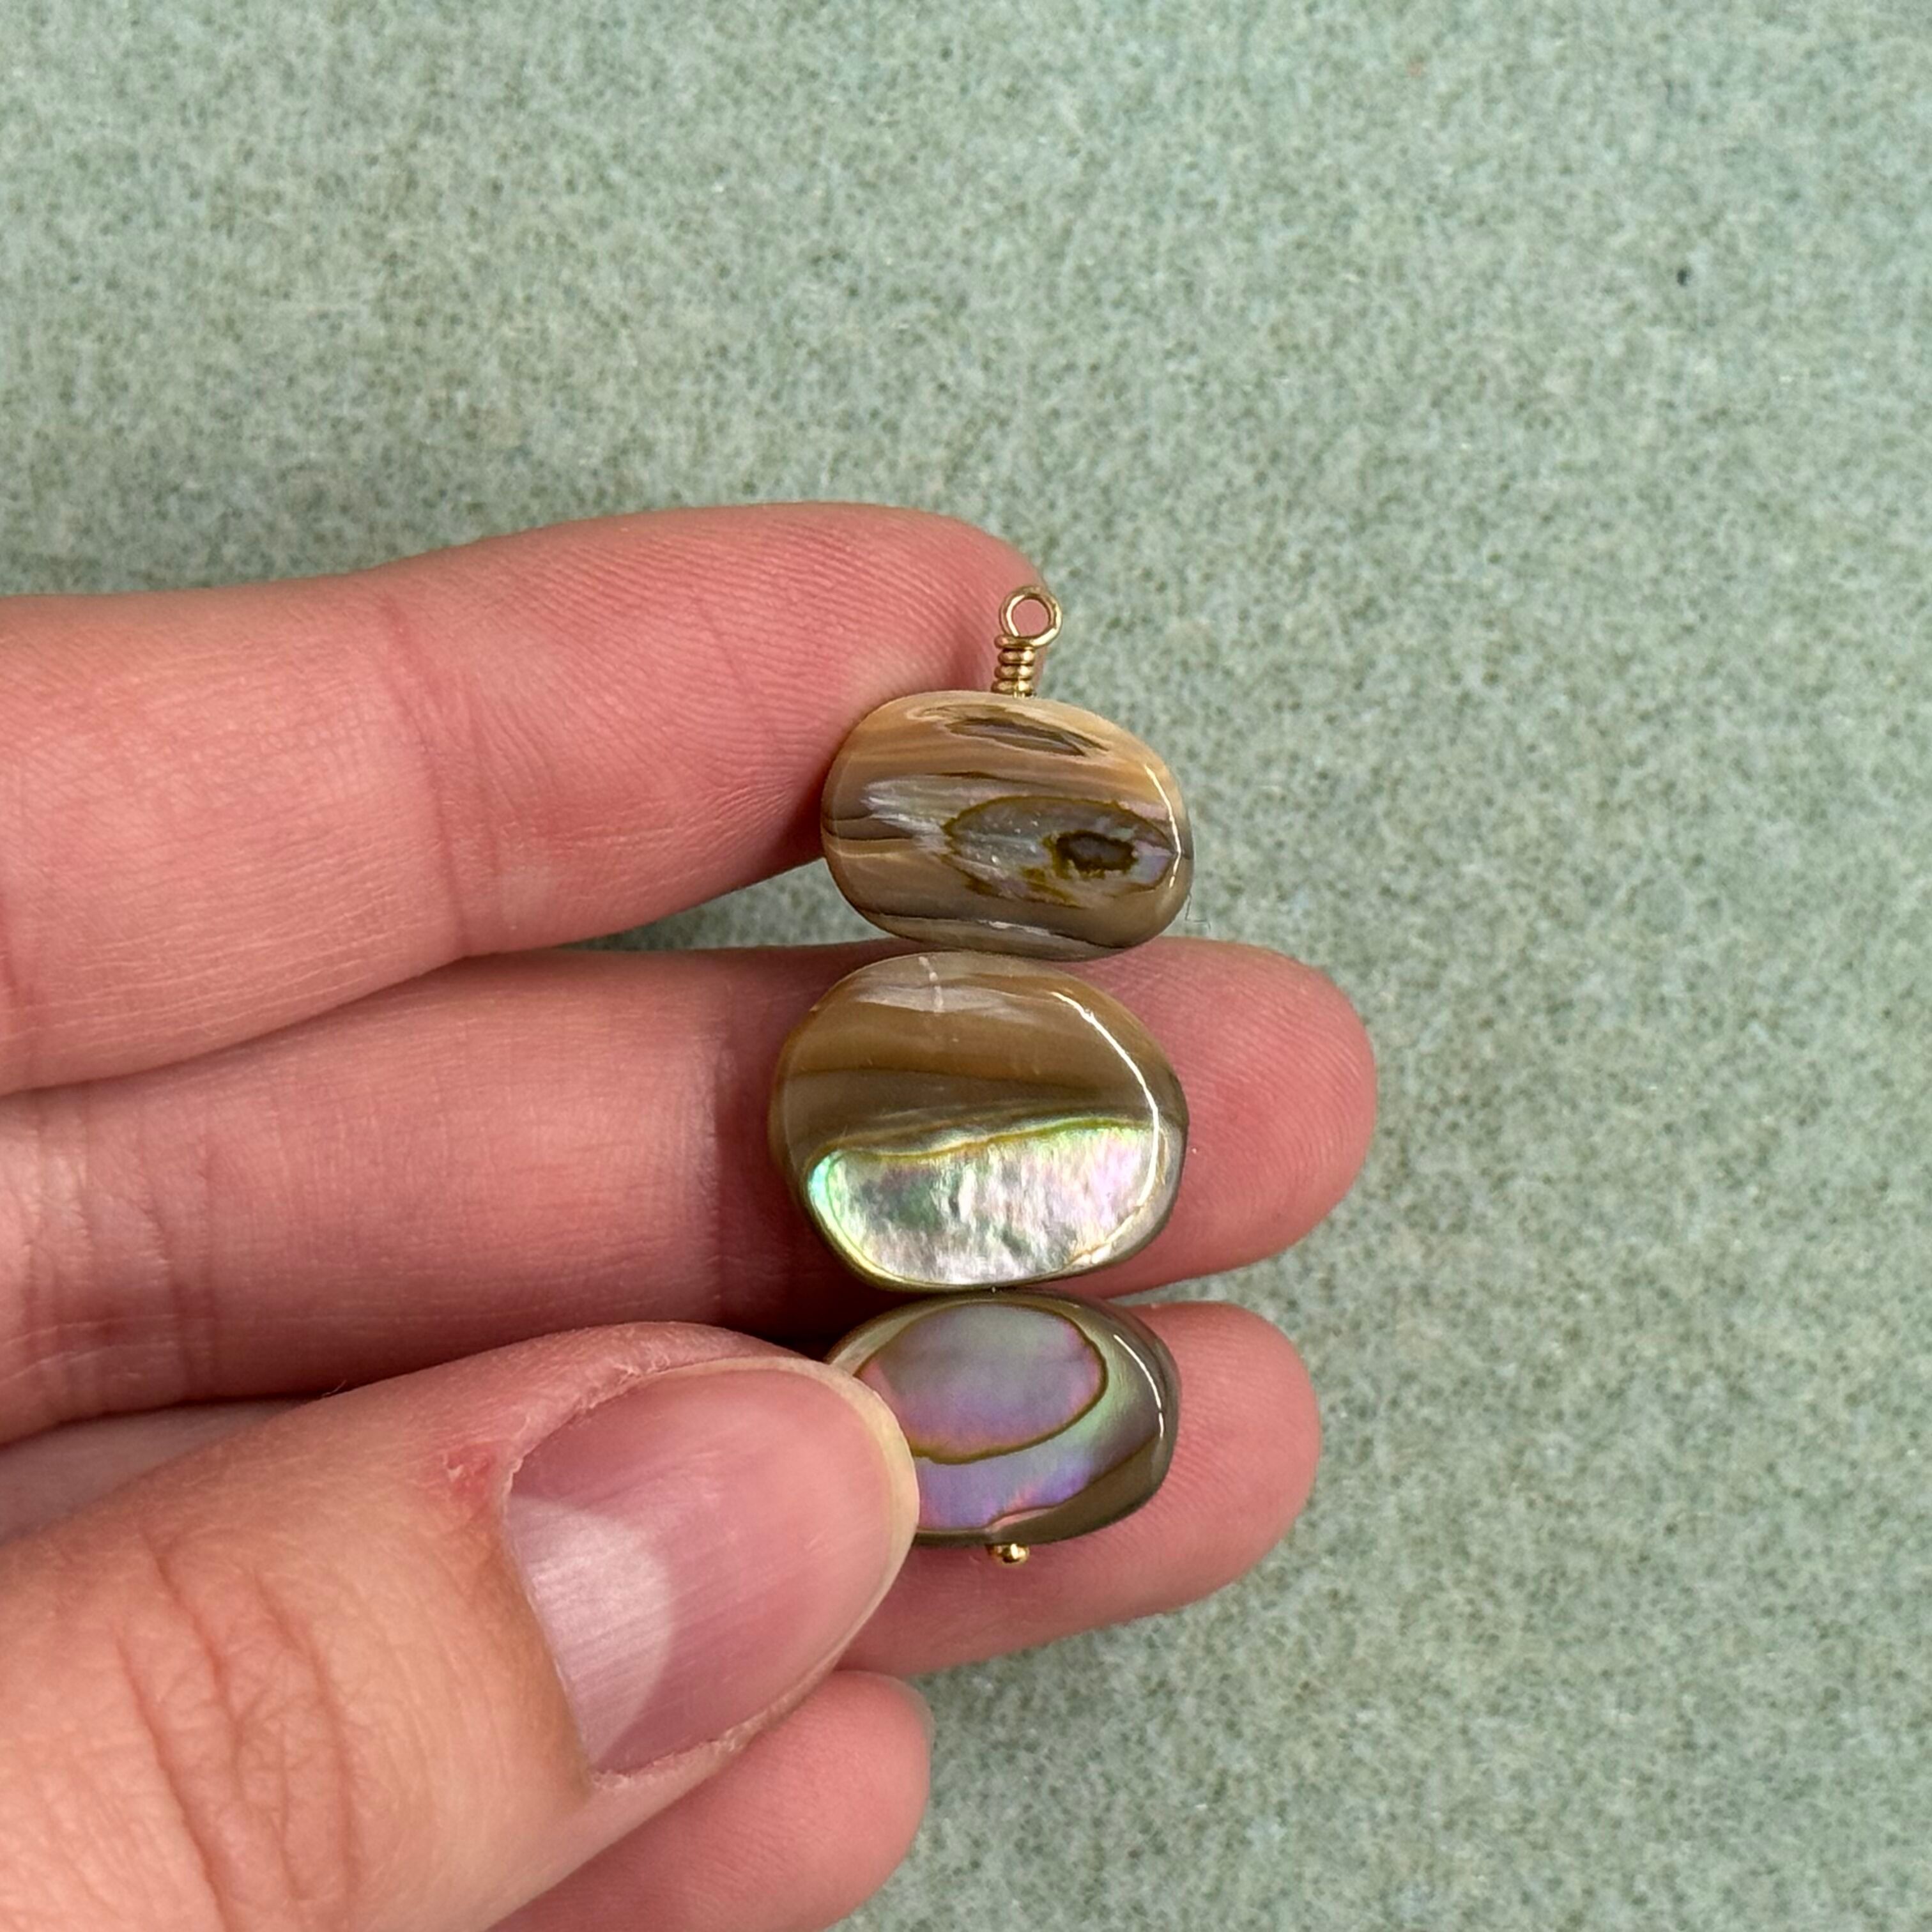
3. It will look like this. Place this aside for now
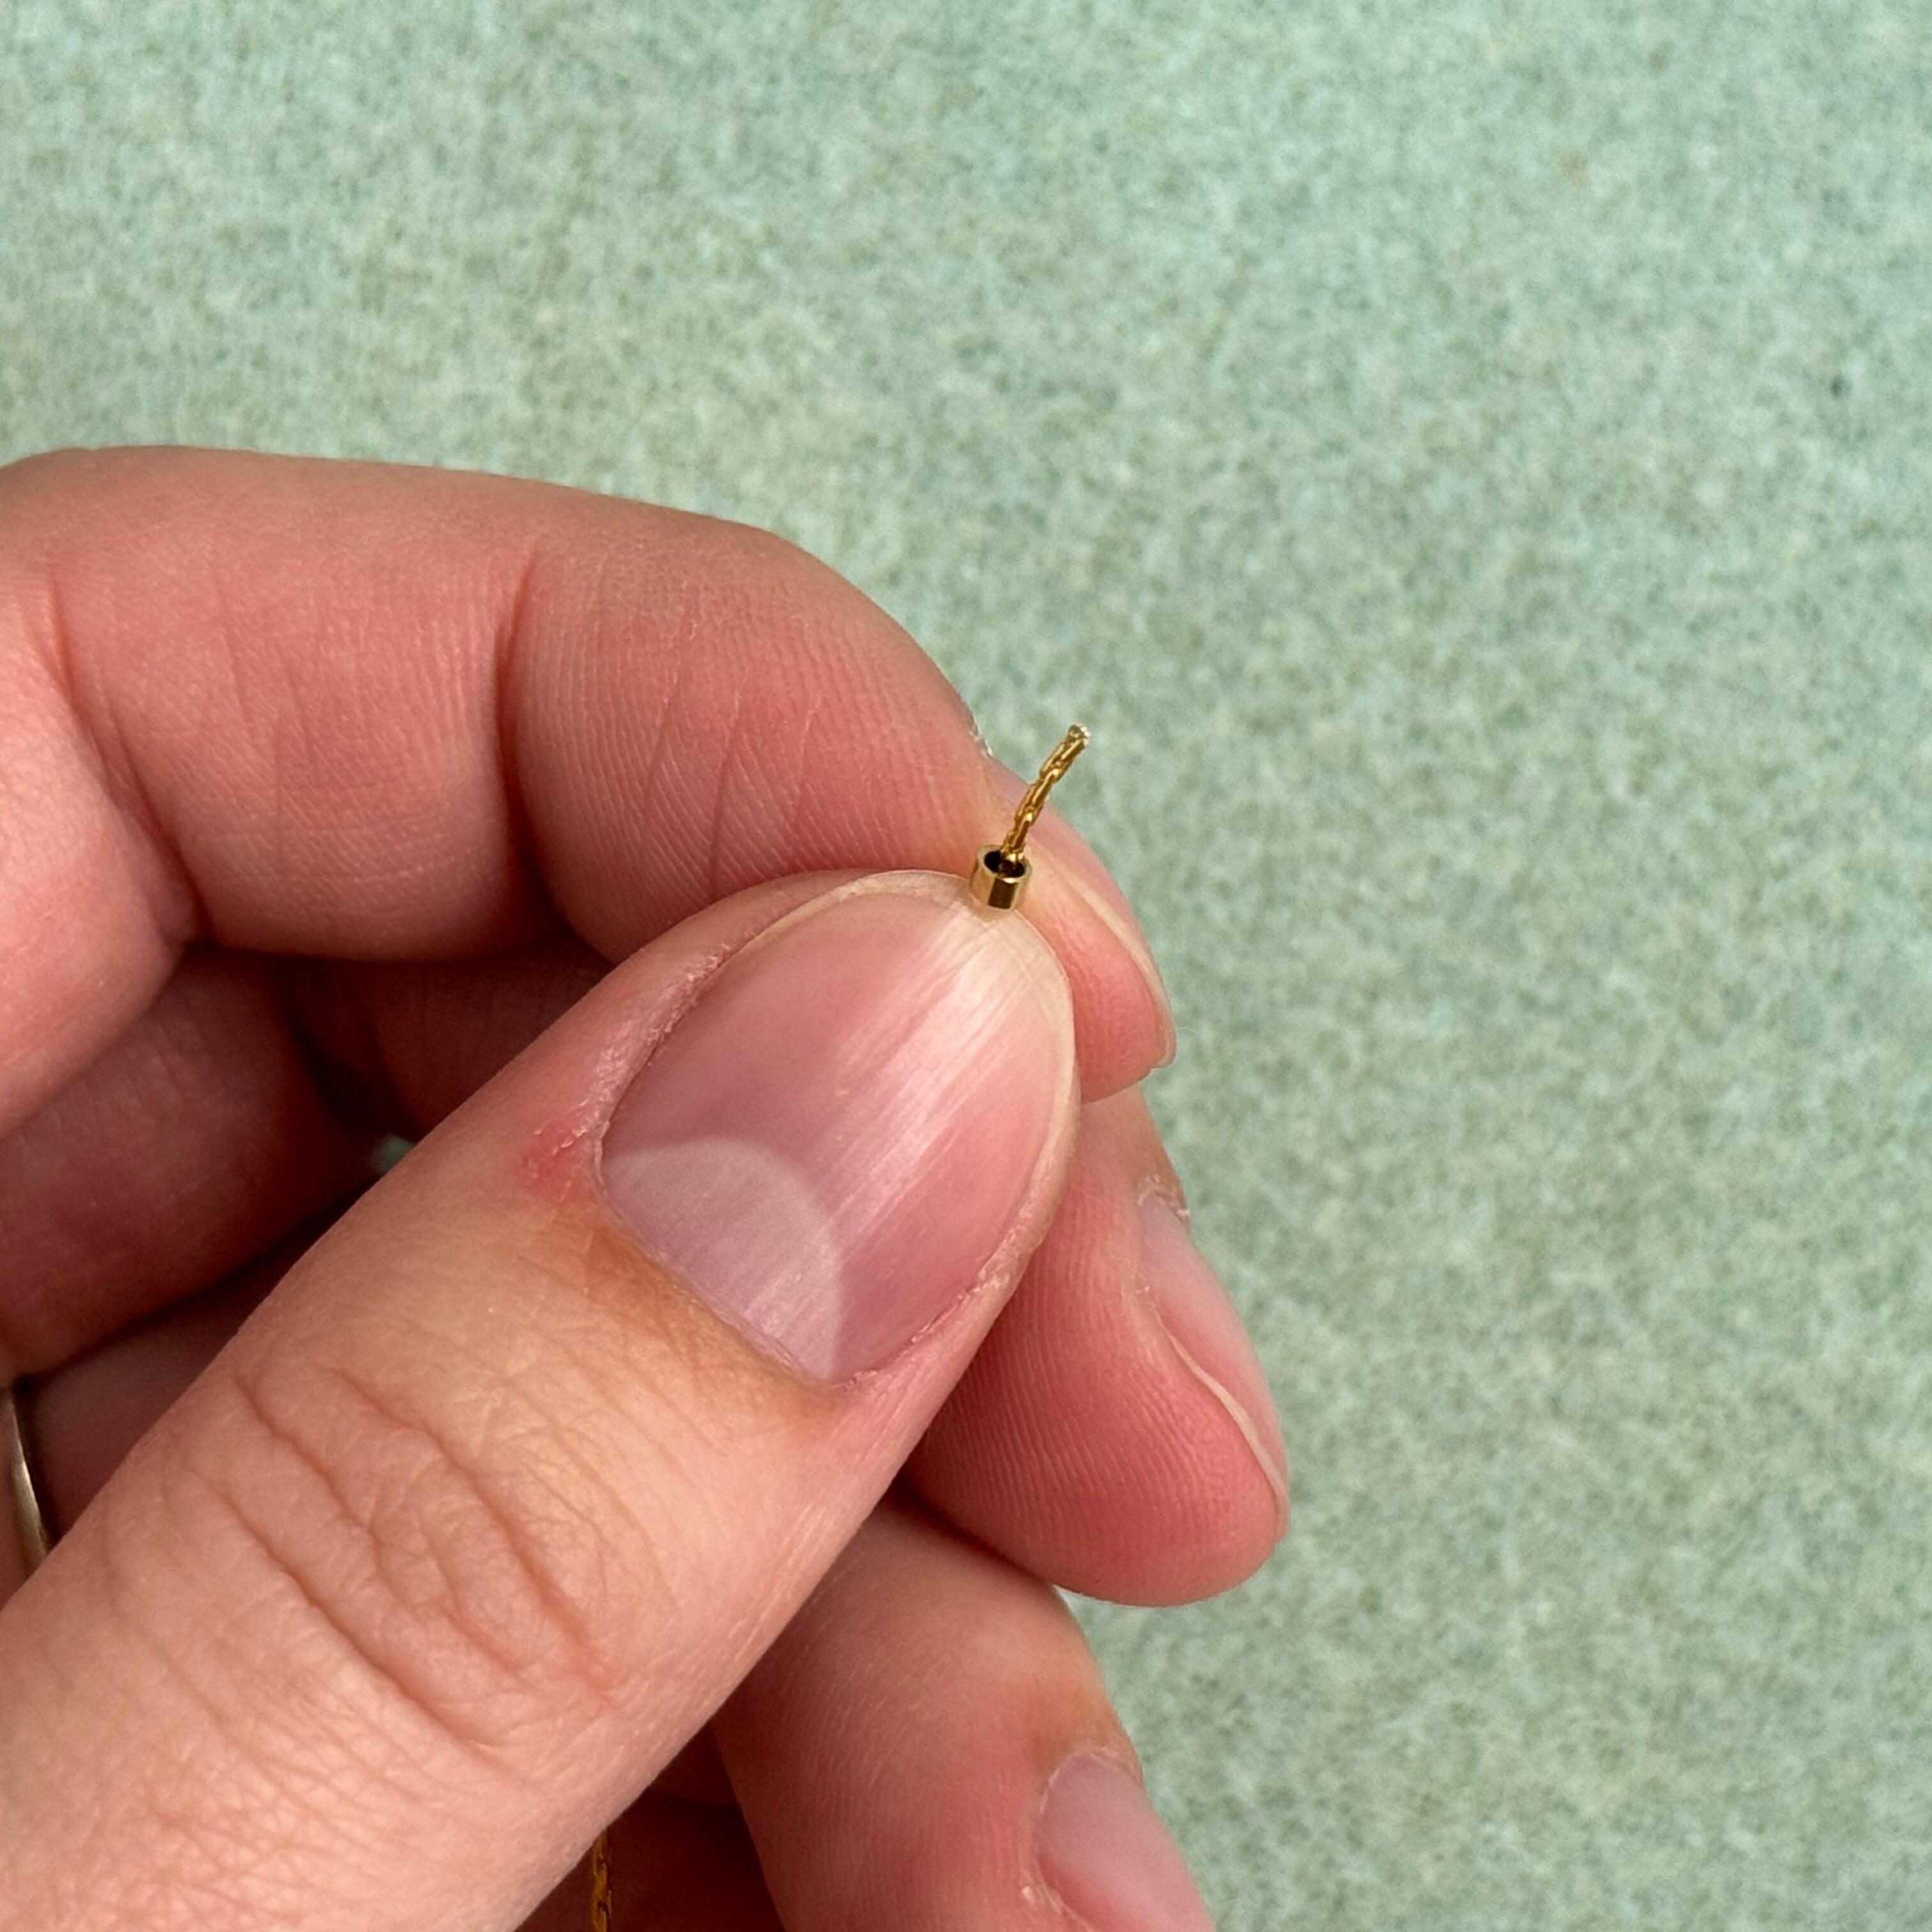
4. Cut 2" of beading chain and thread on your first crimp (we will be working from the bottom up)
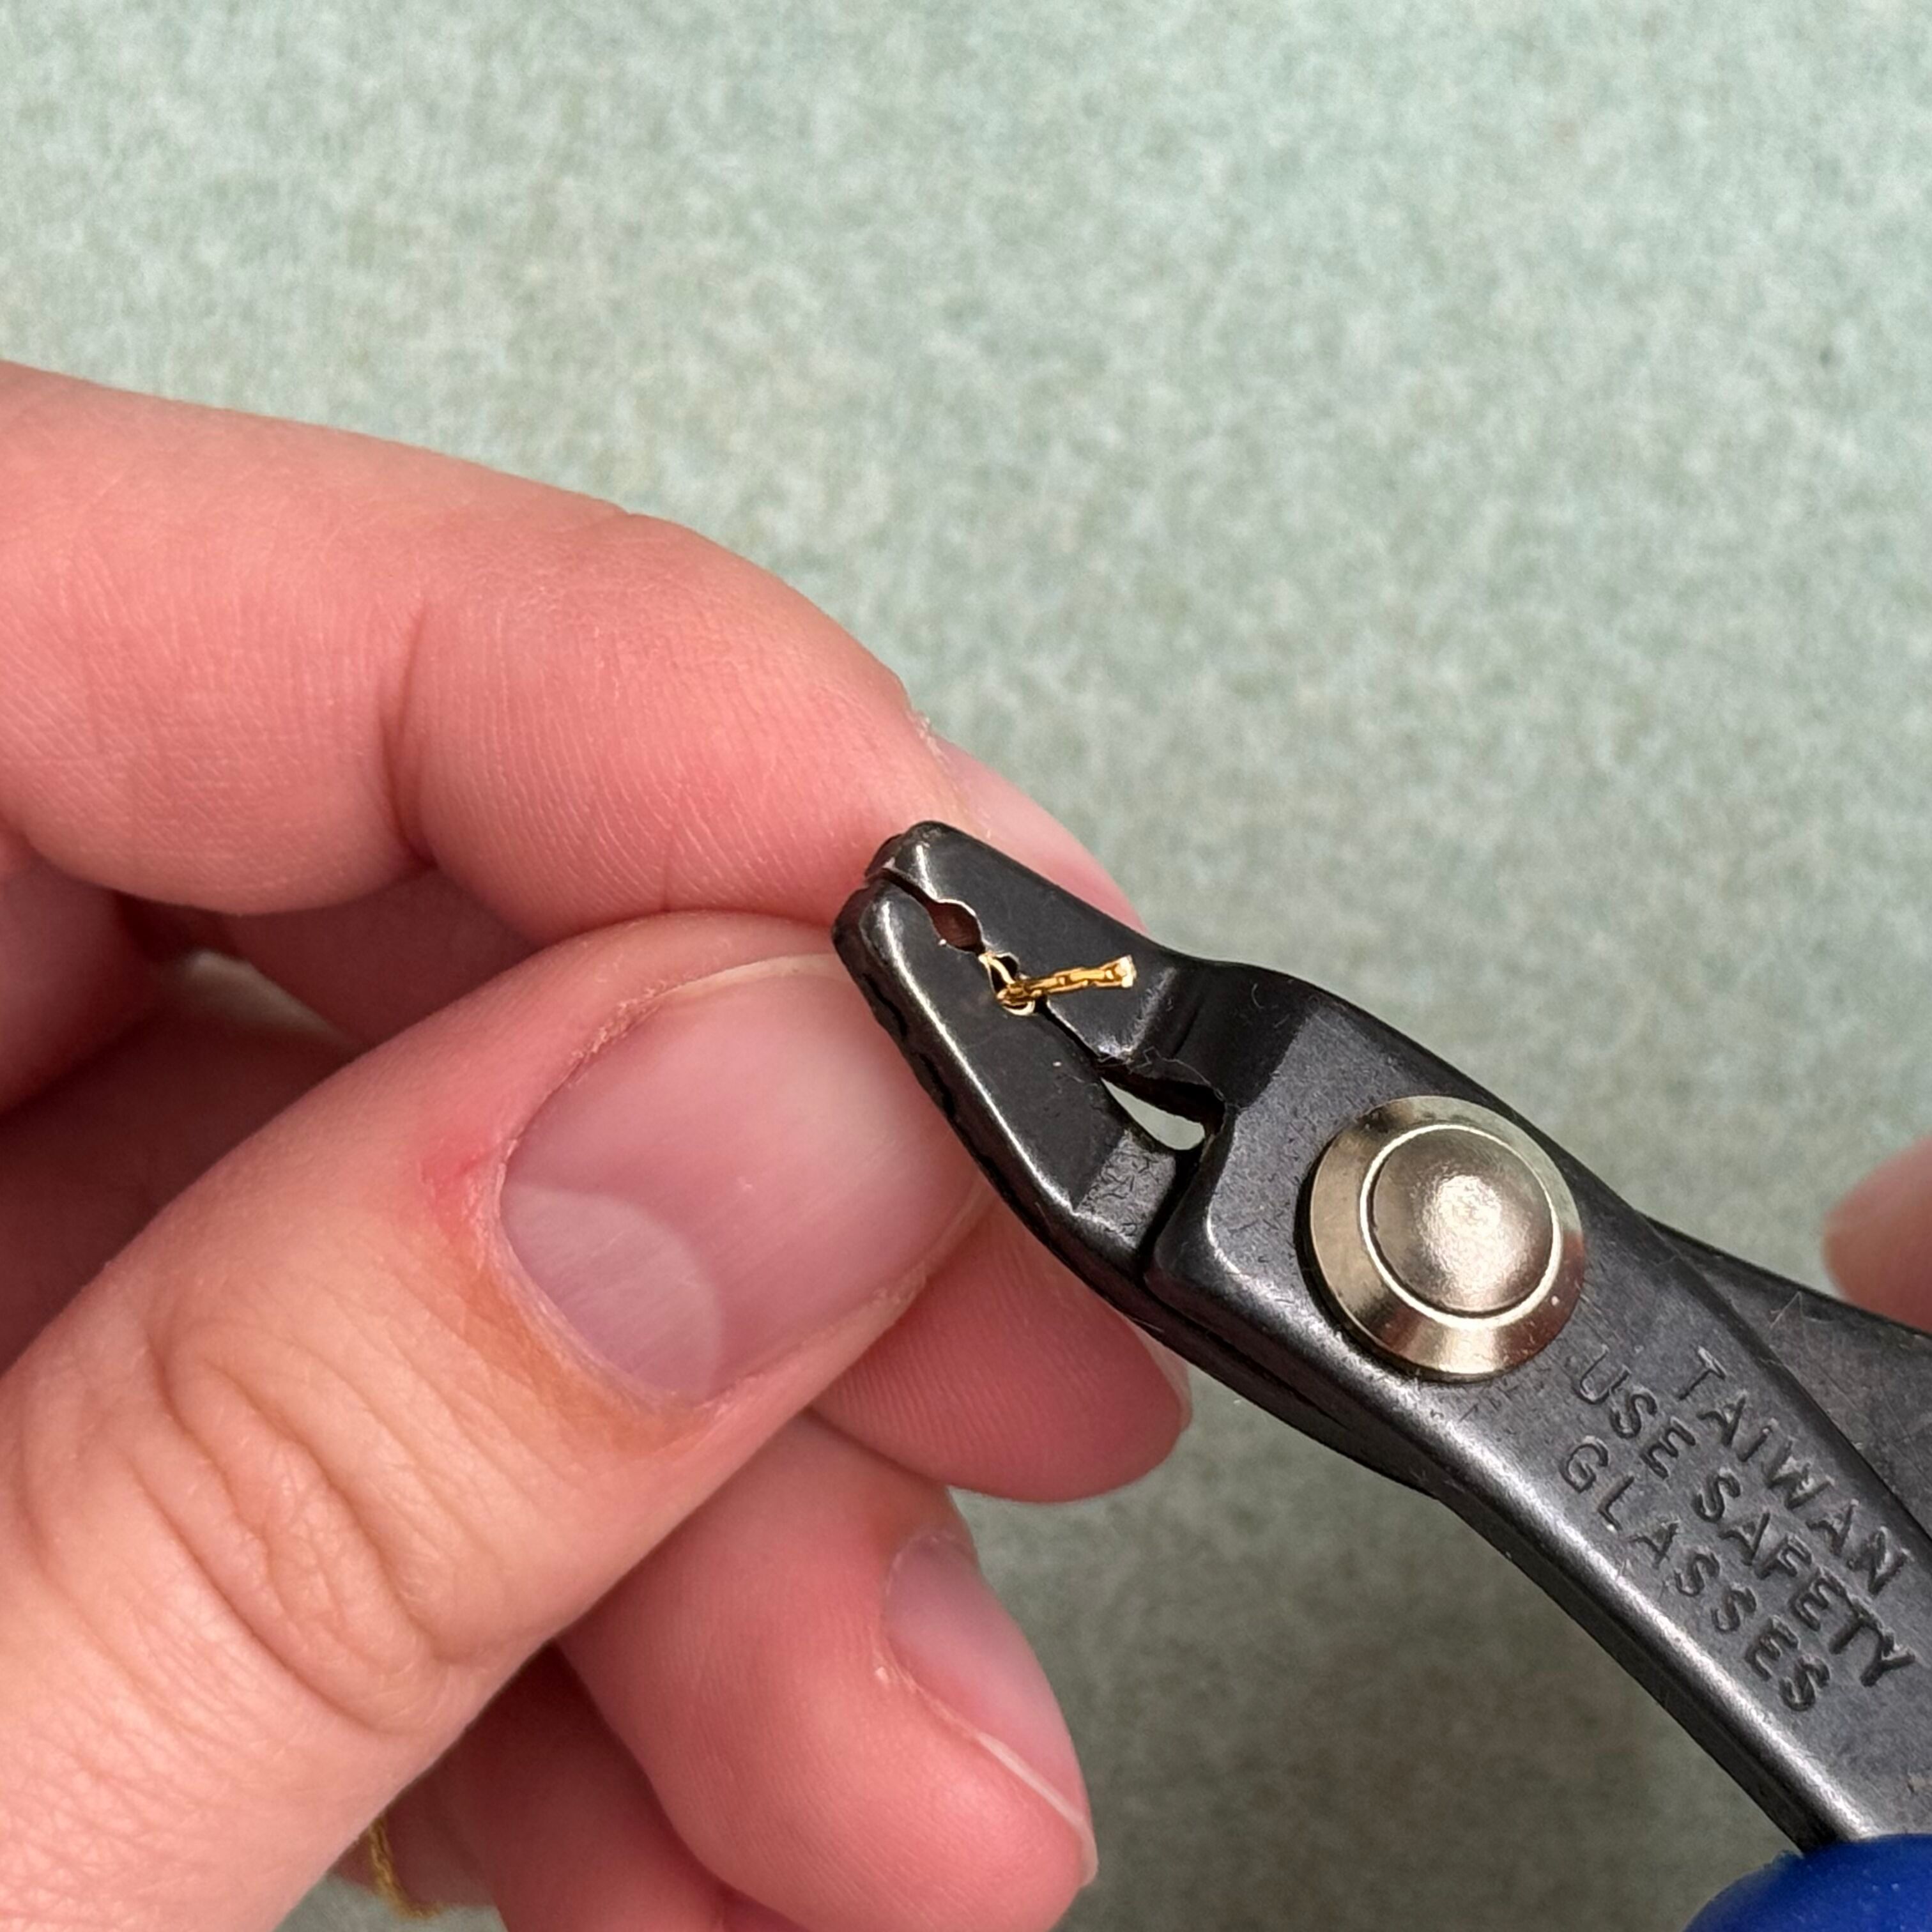
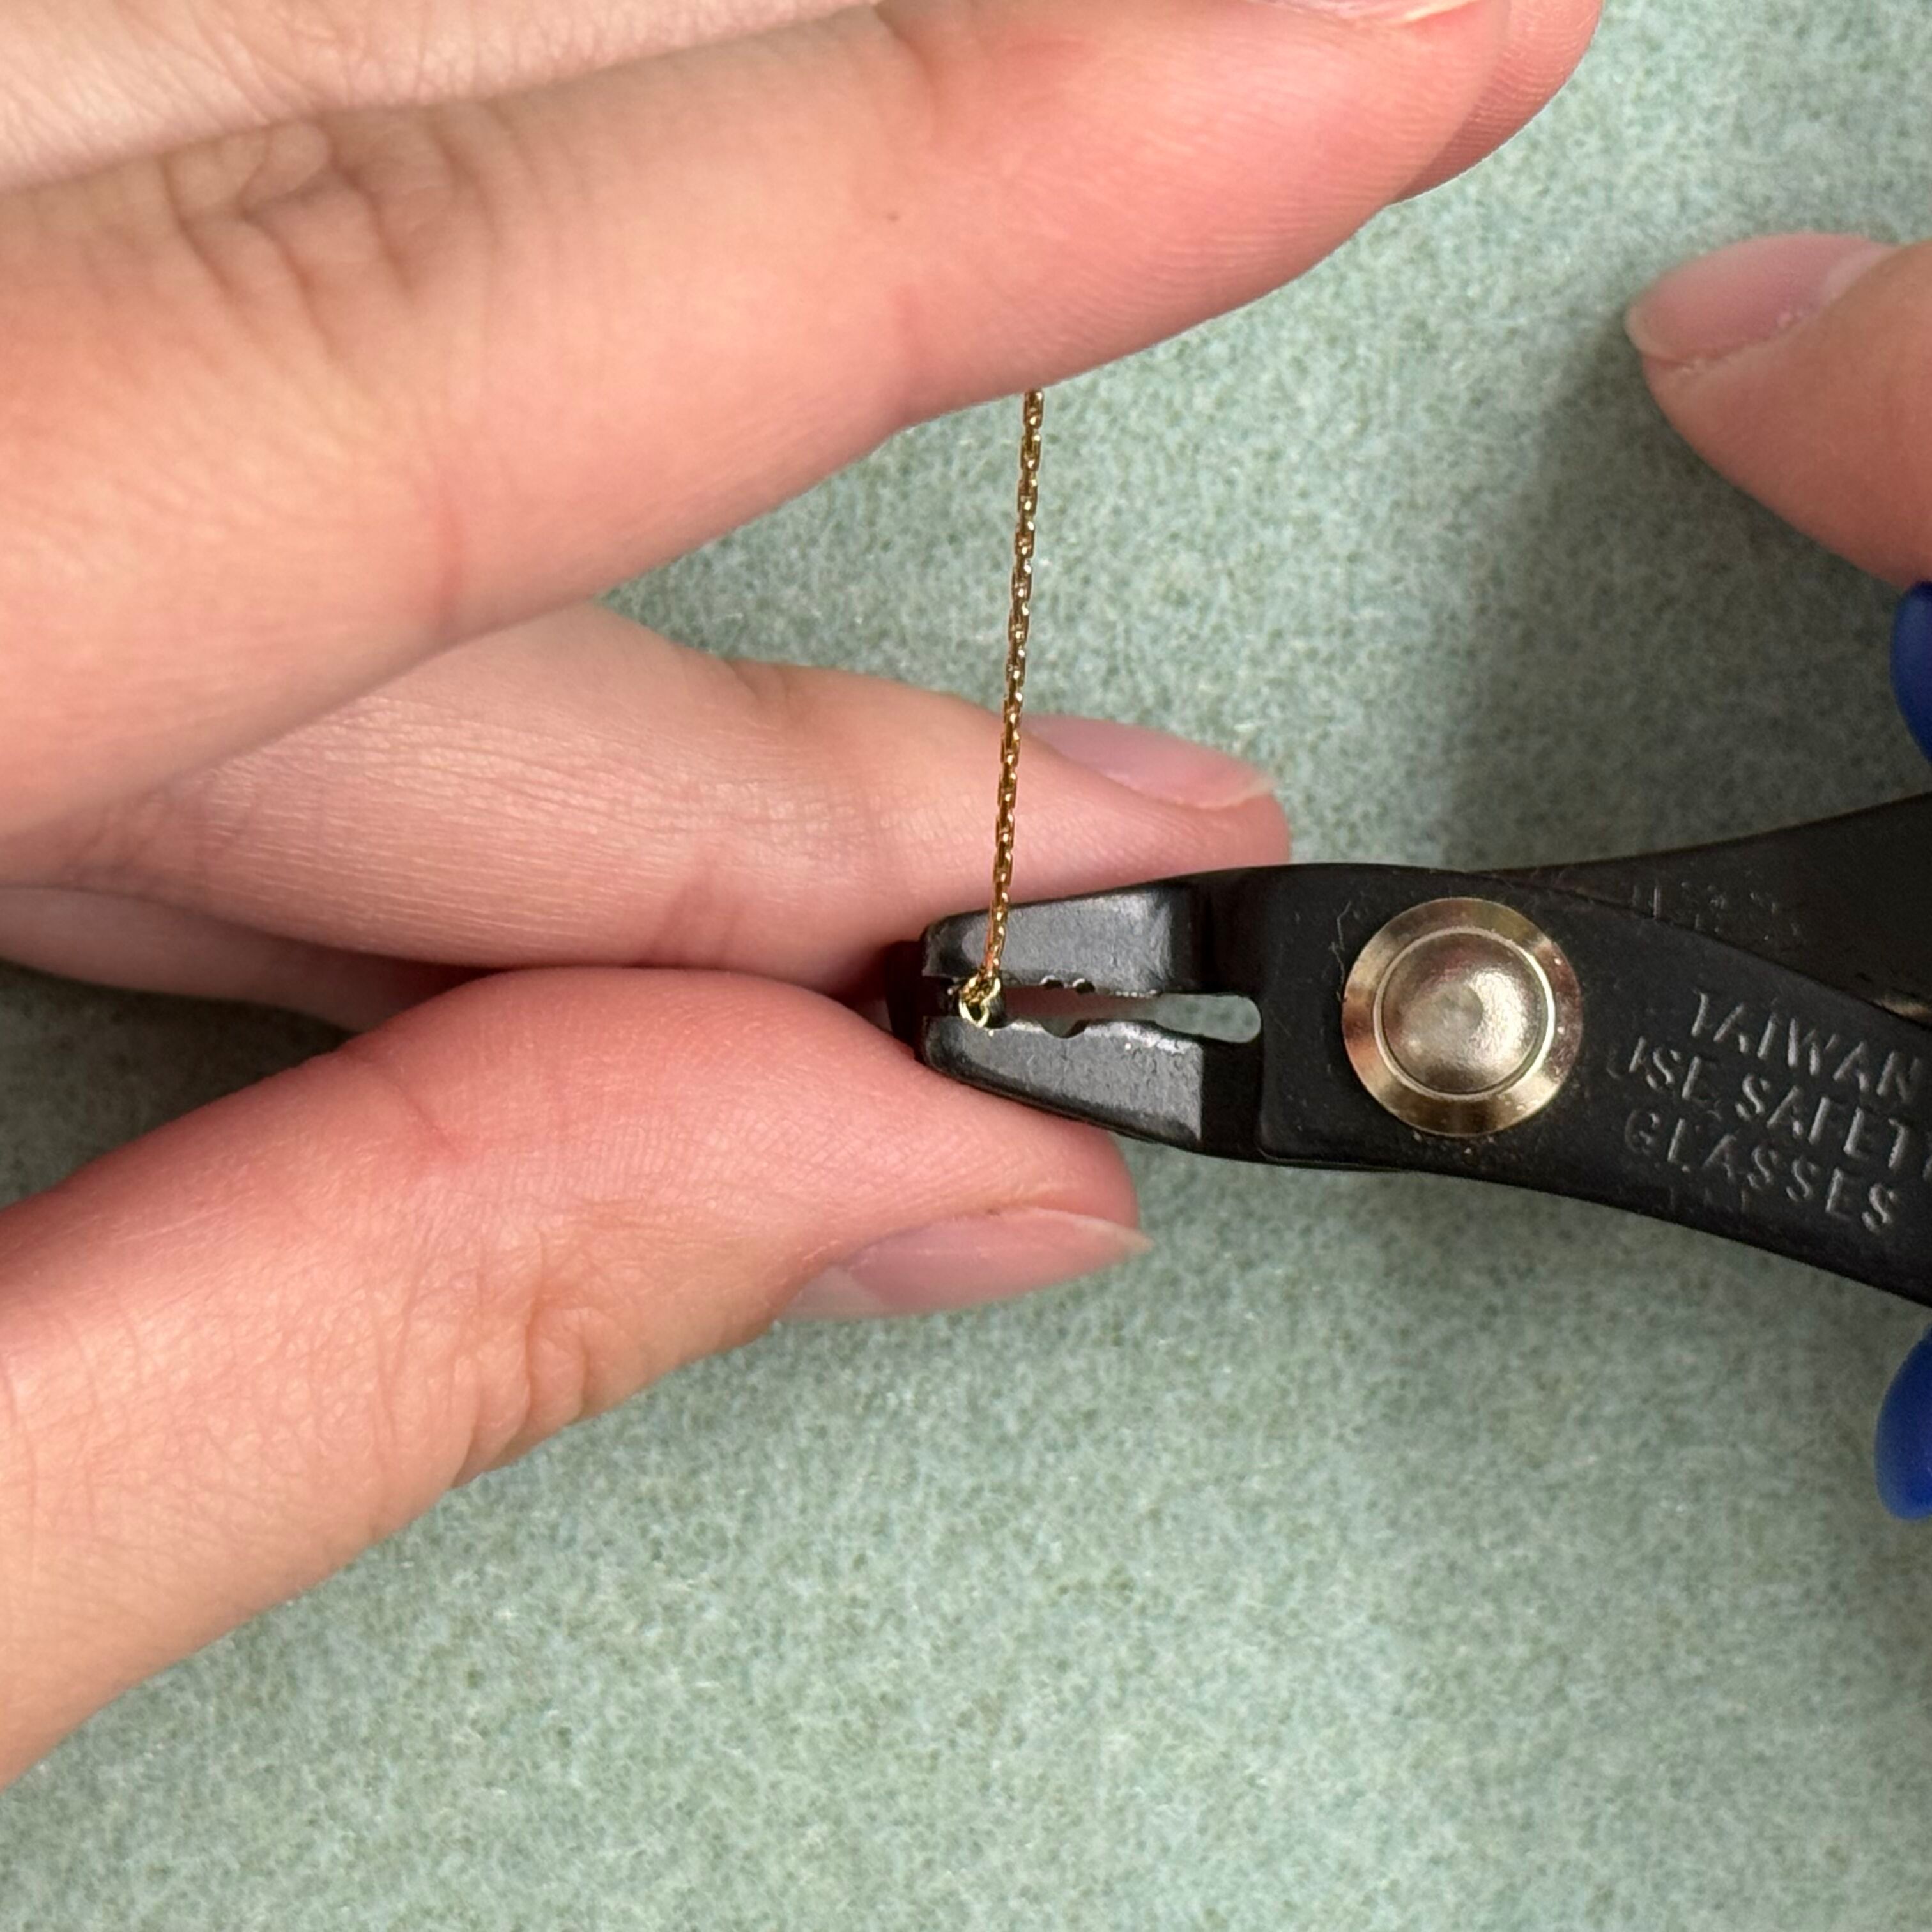
5. Secure the crimp bead using the crimping pliers with the grooved part of the pliers. *you want to center the crimp bead on the beading chain to get the best finished crimp*
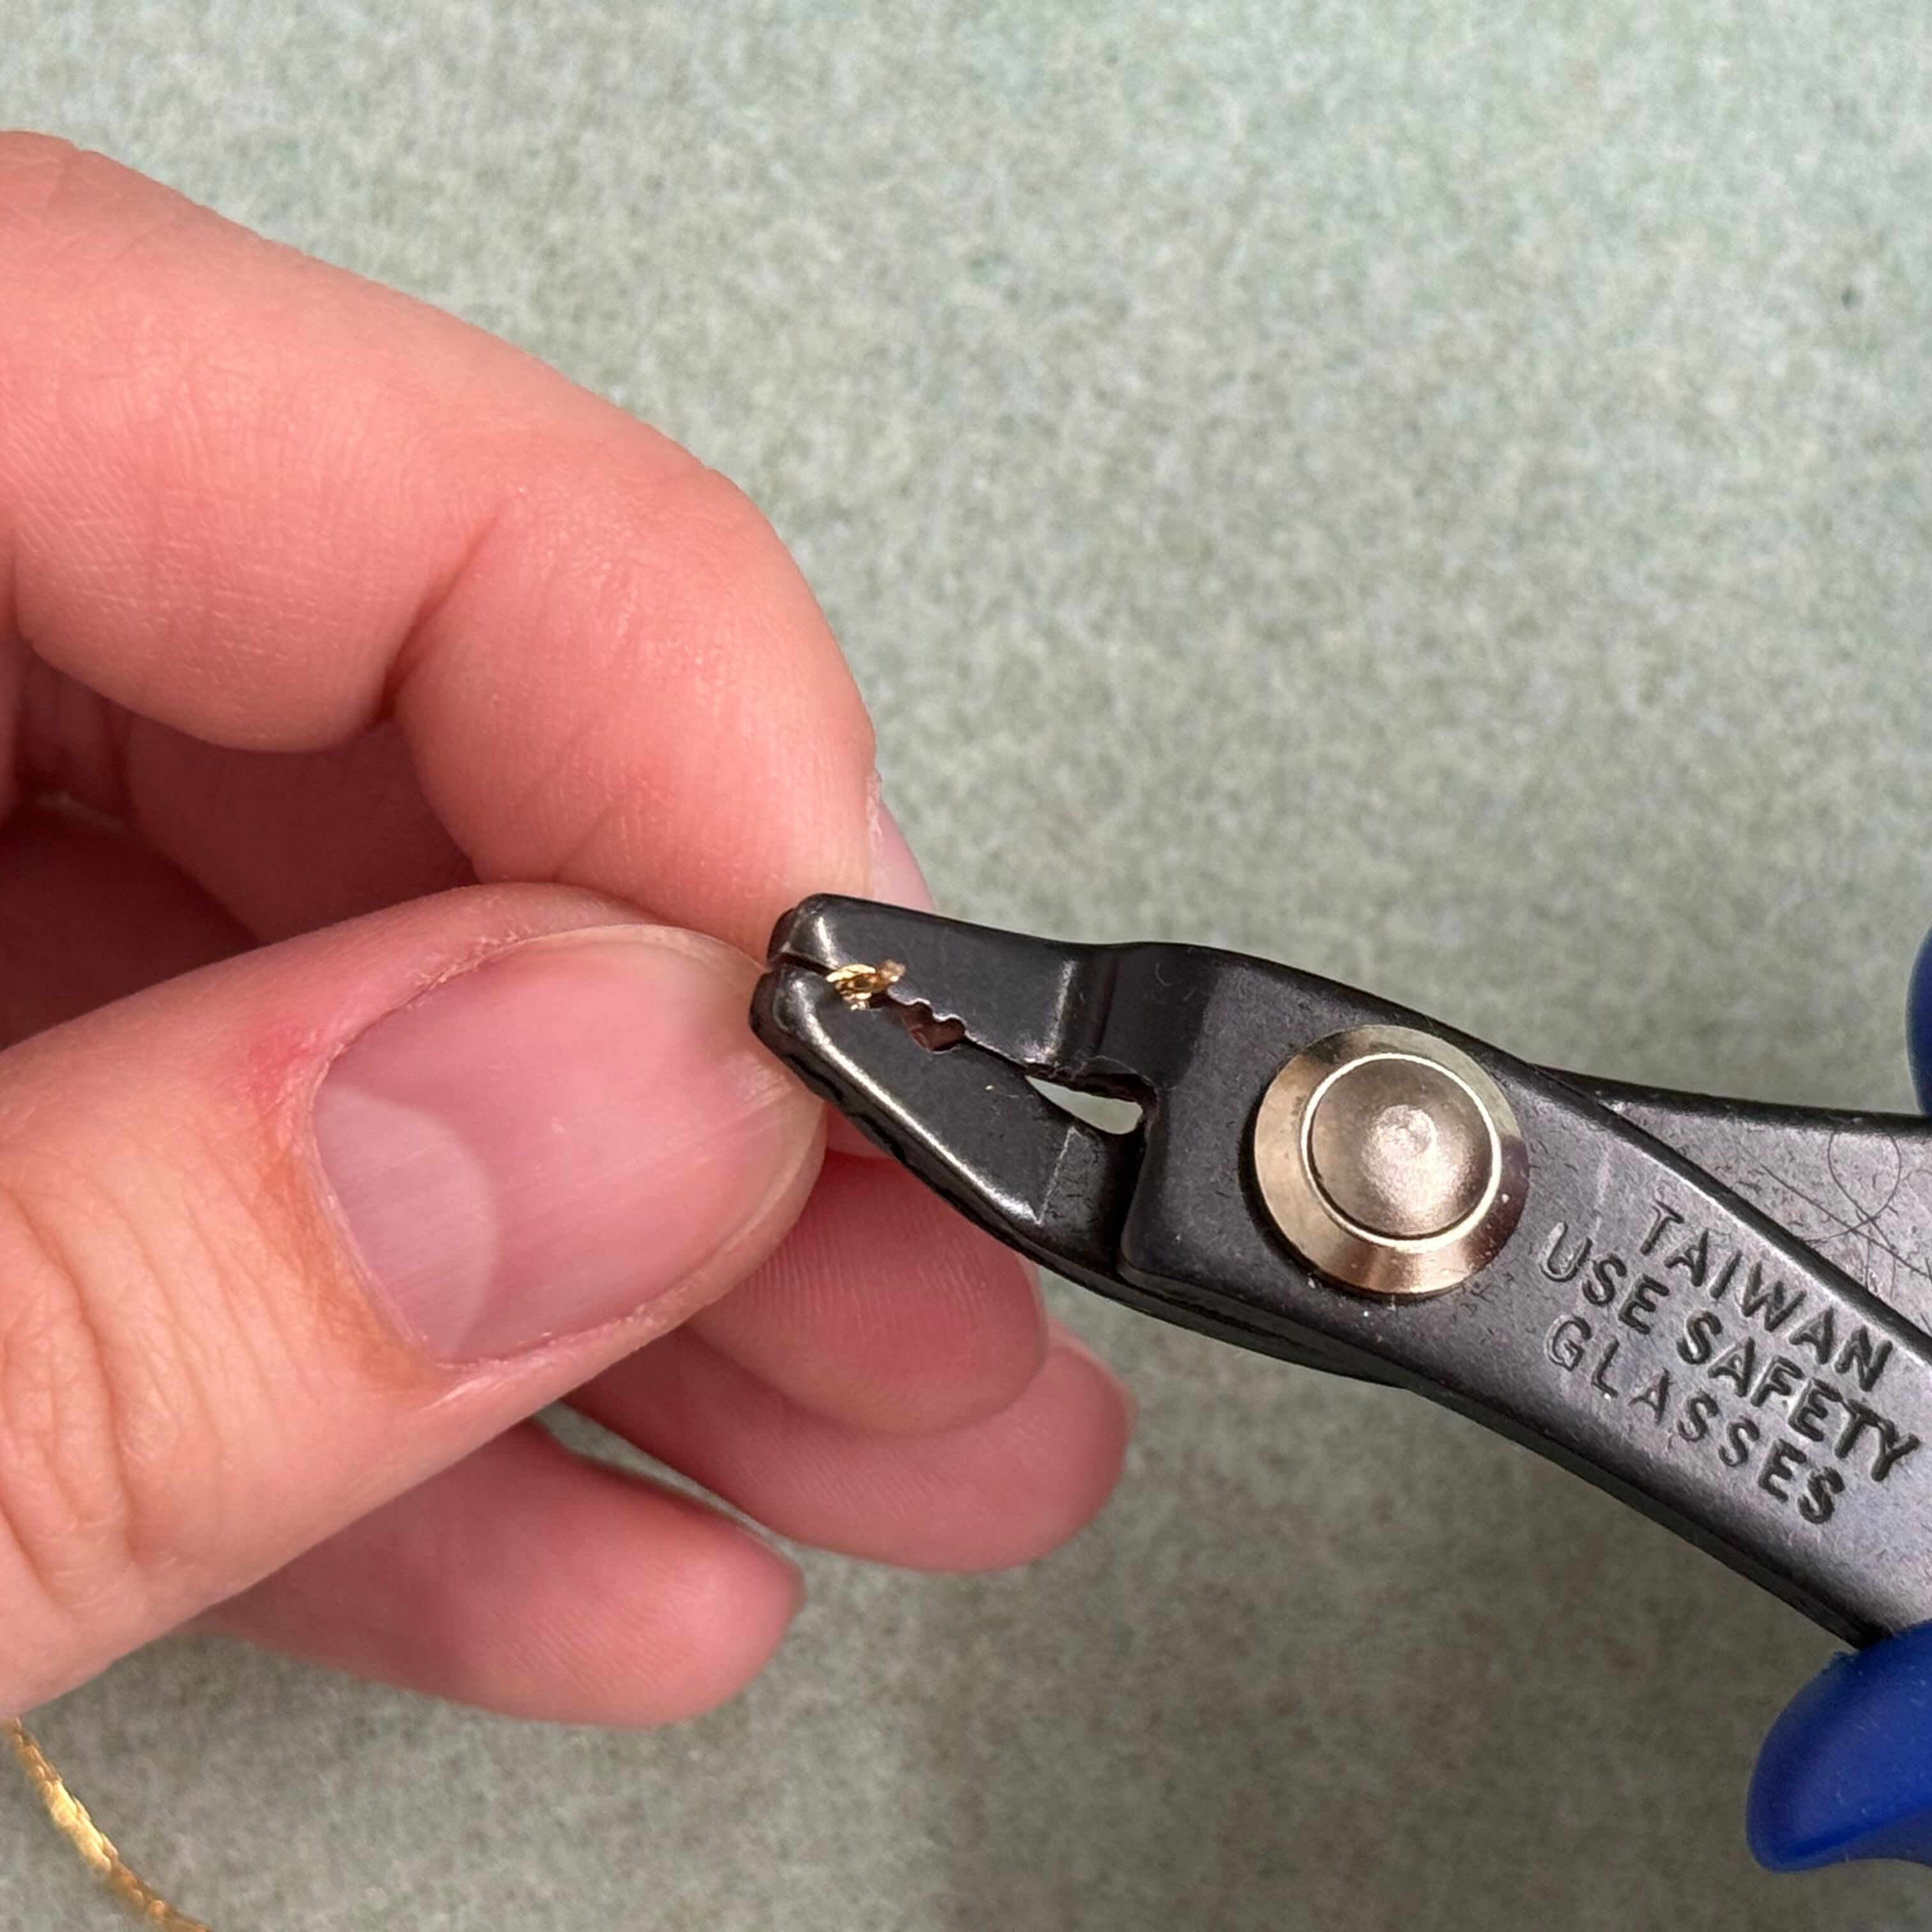
6. Fold the crimp using the far left section of the crimping pliers
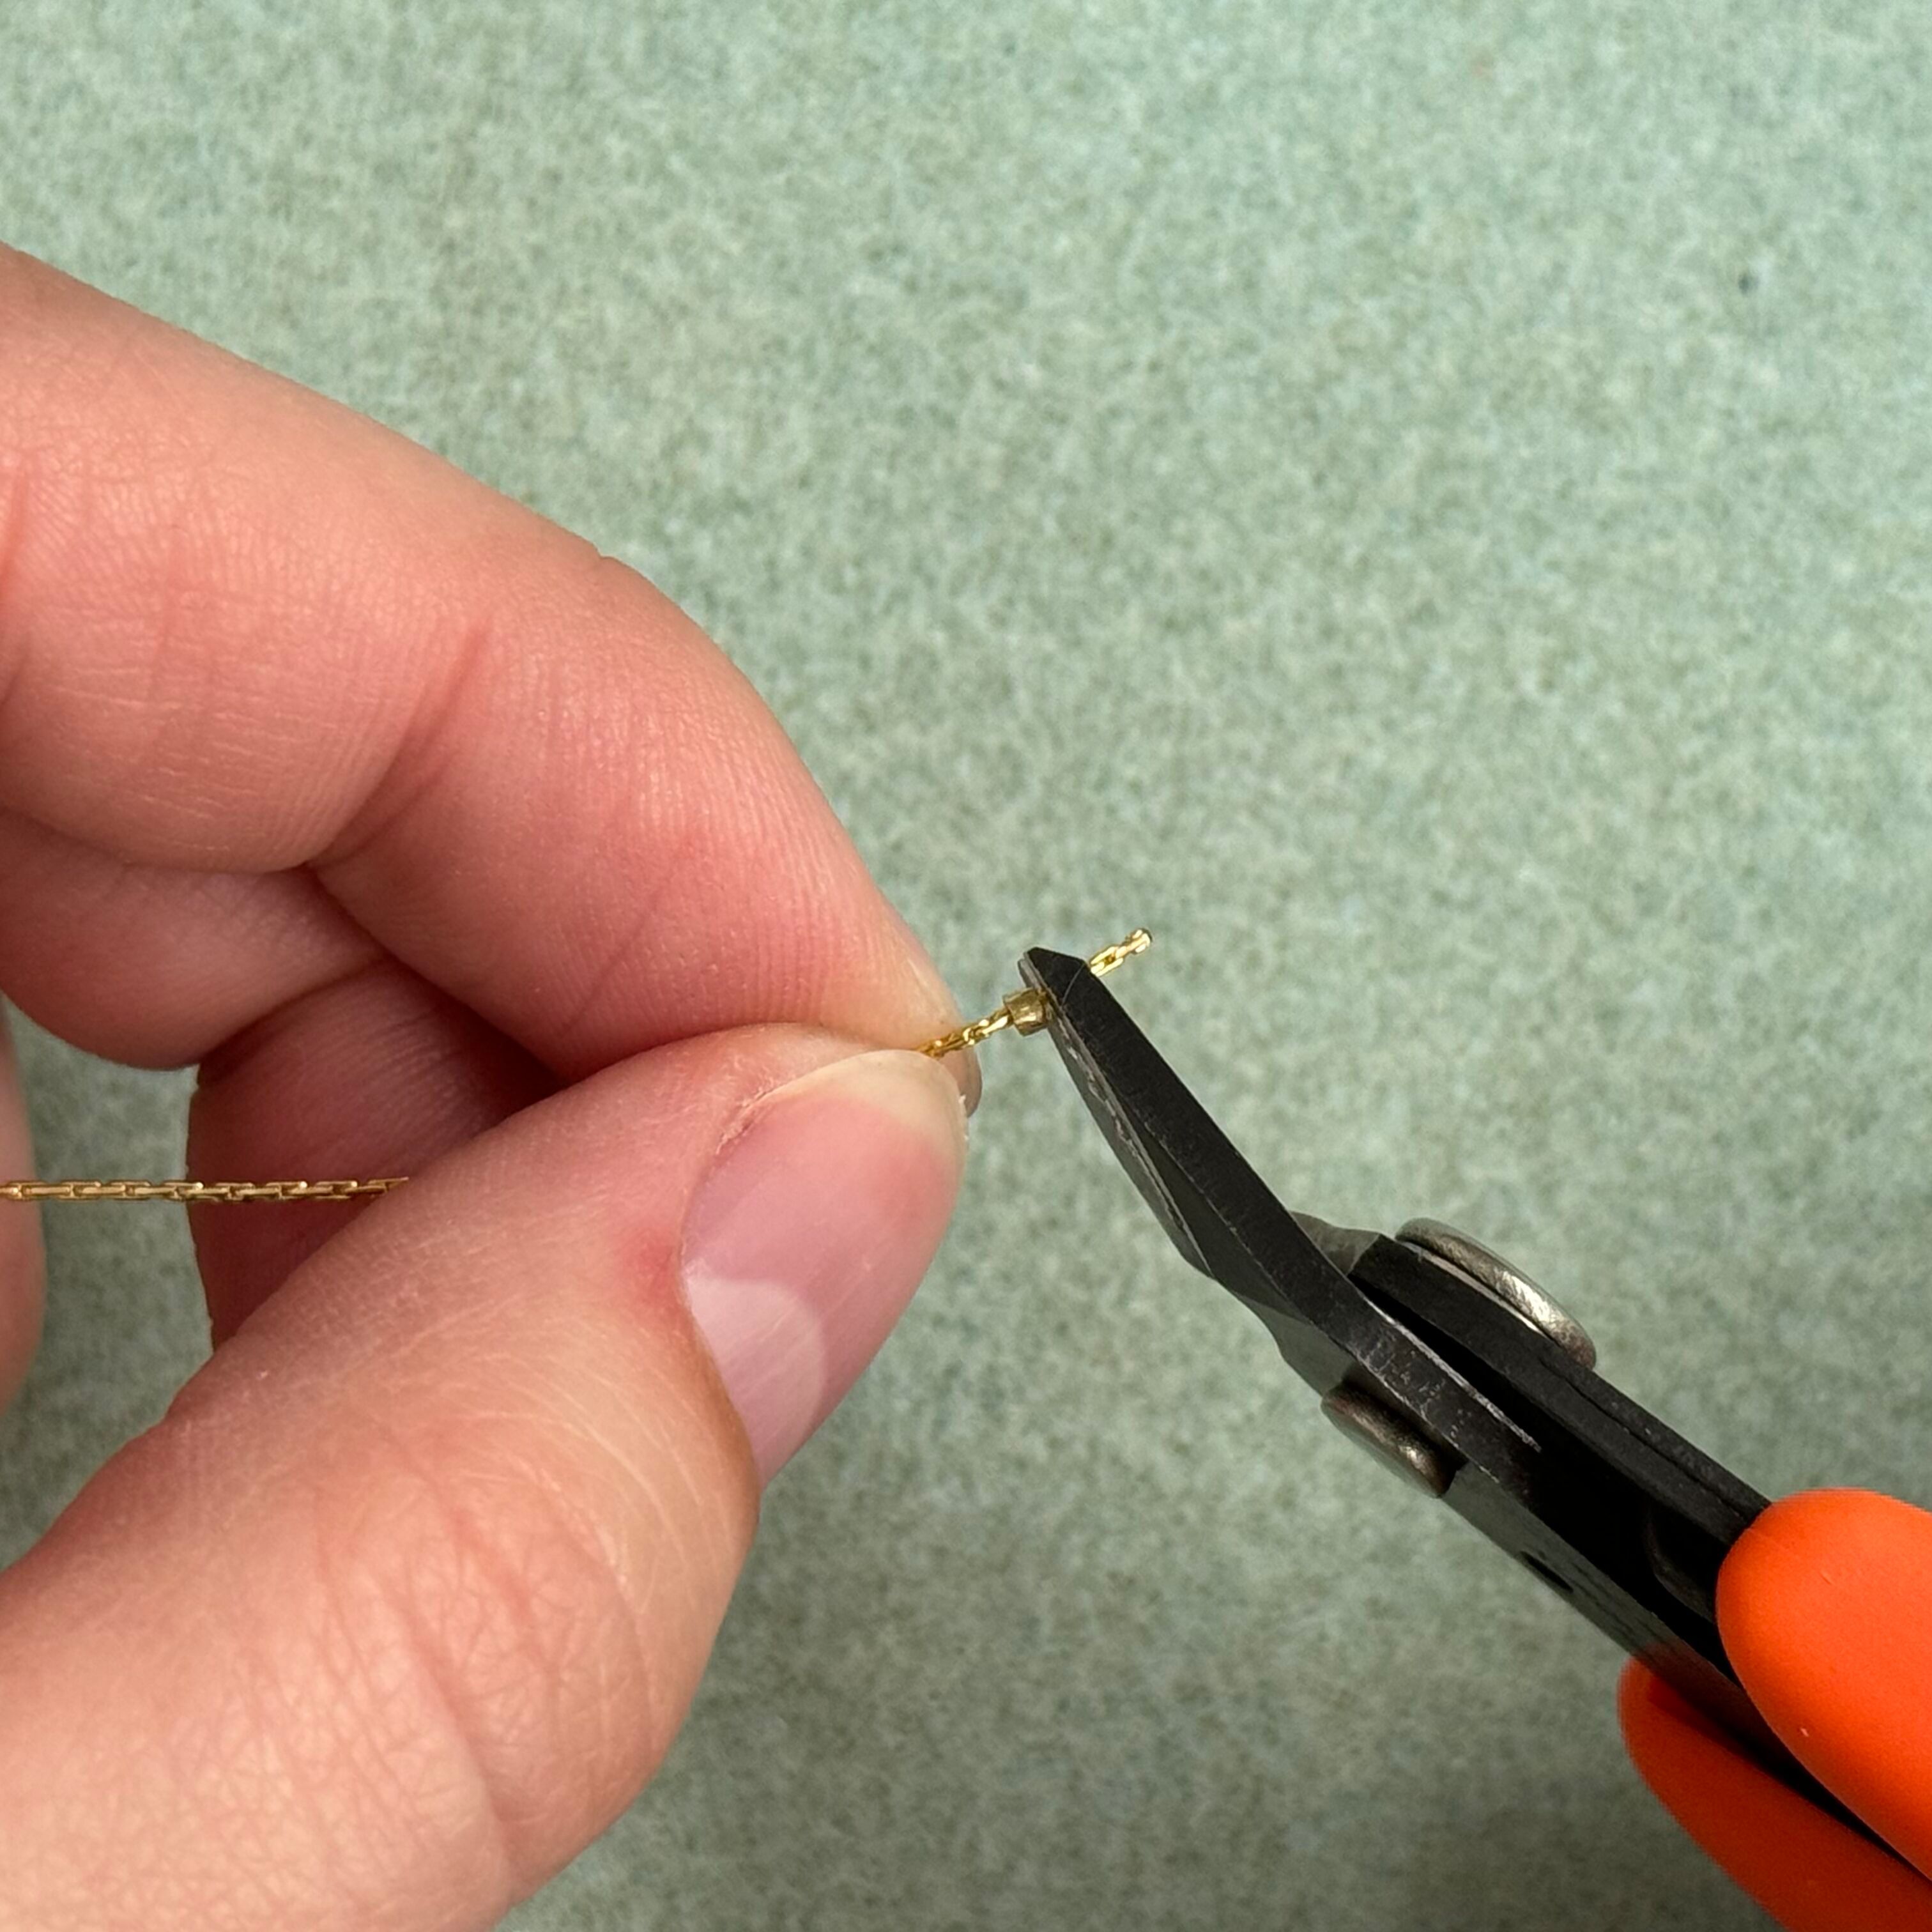
7. Cut the chain's tail off at the end of the crimp
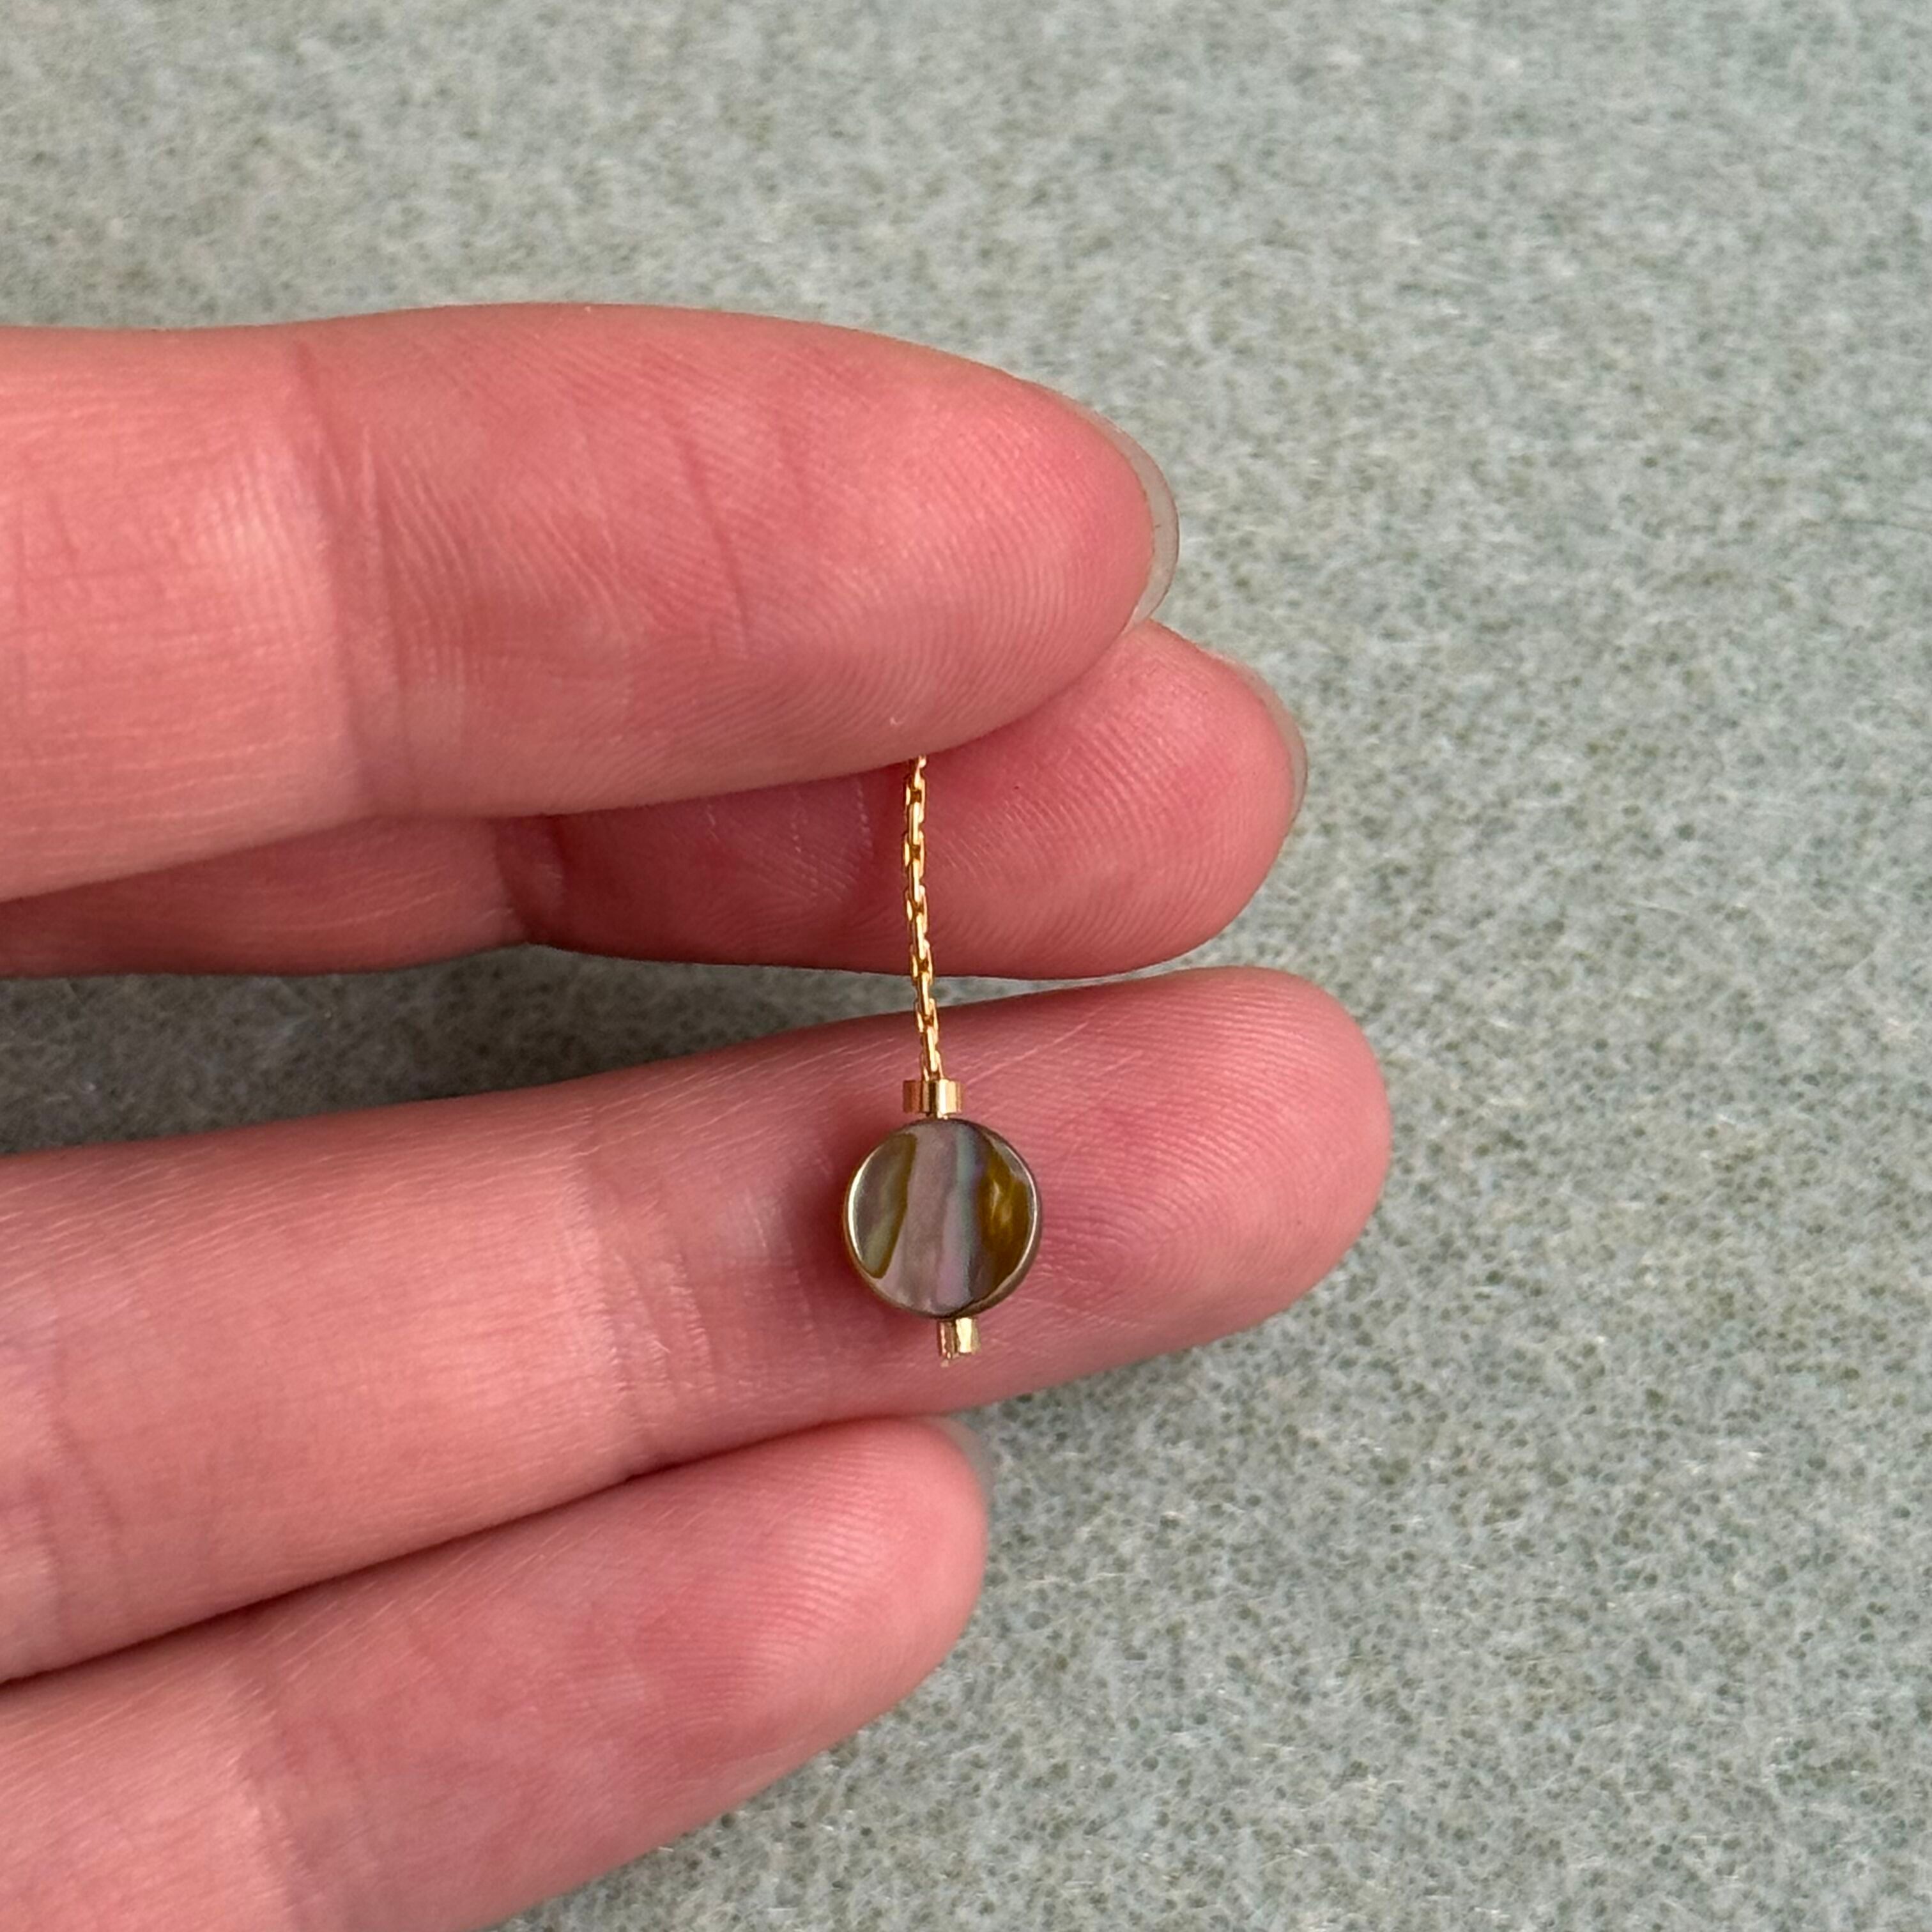
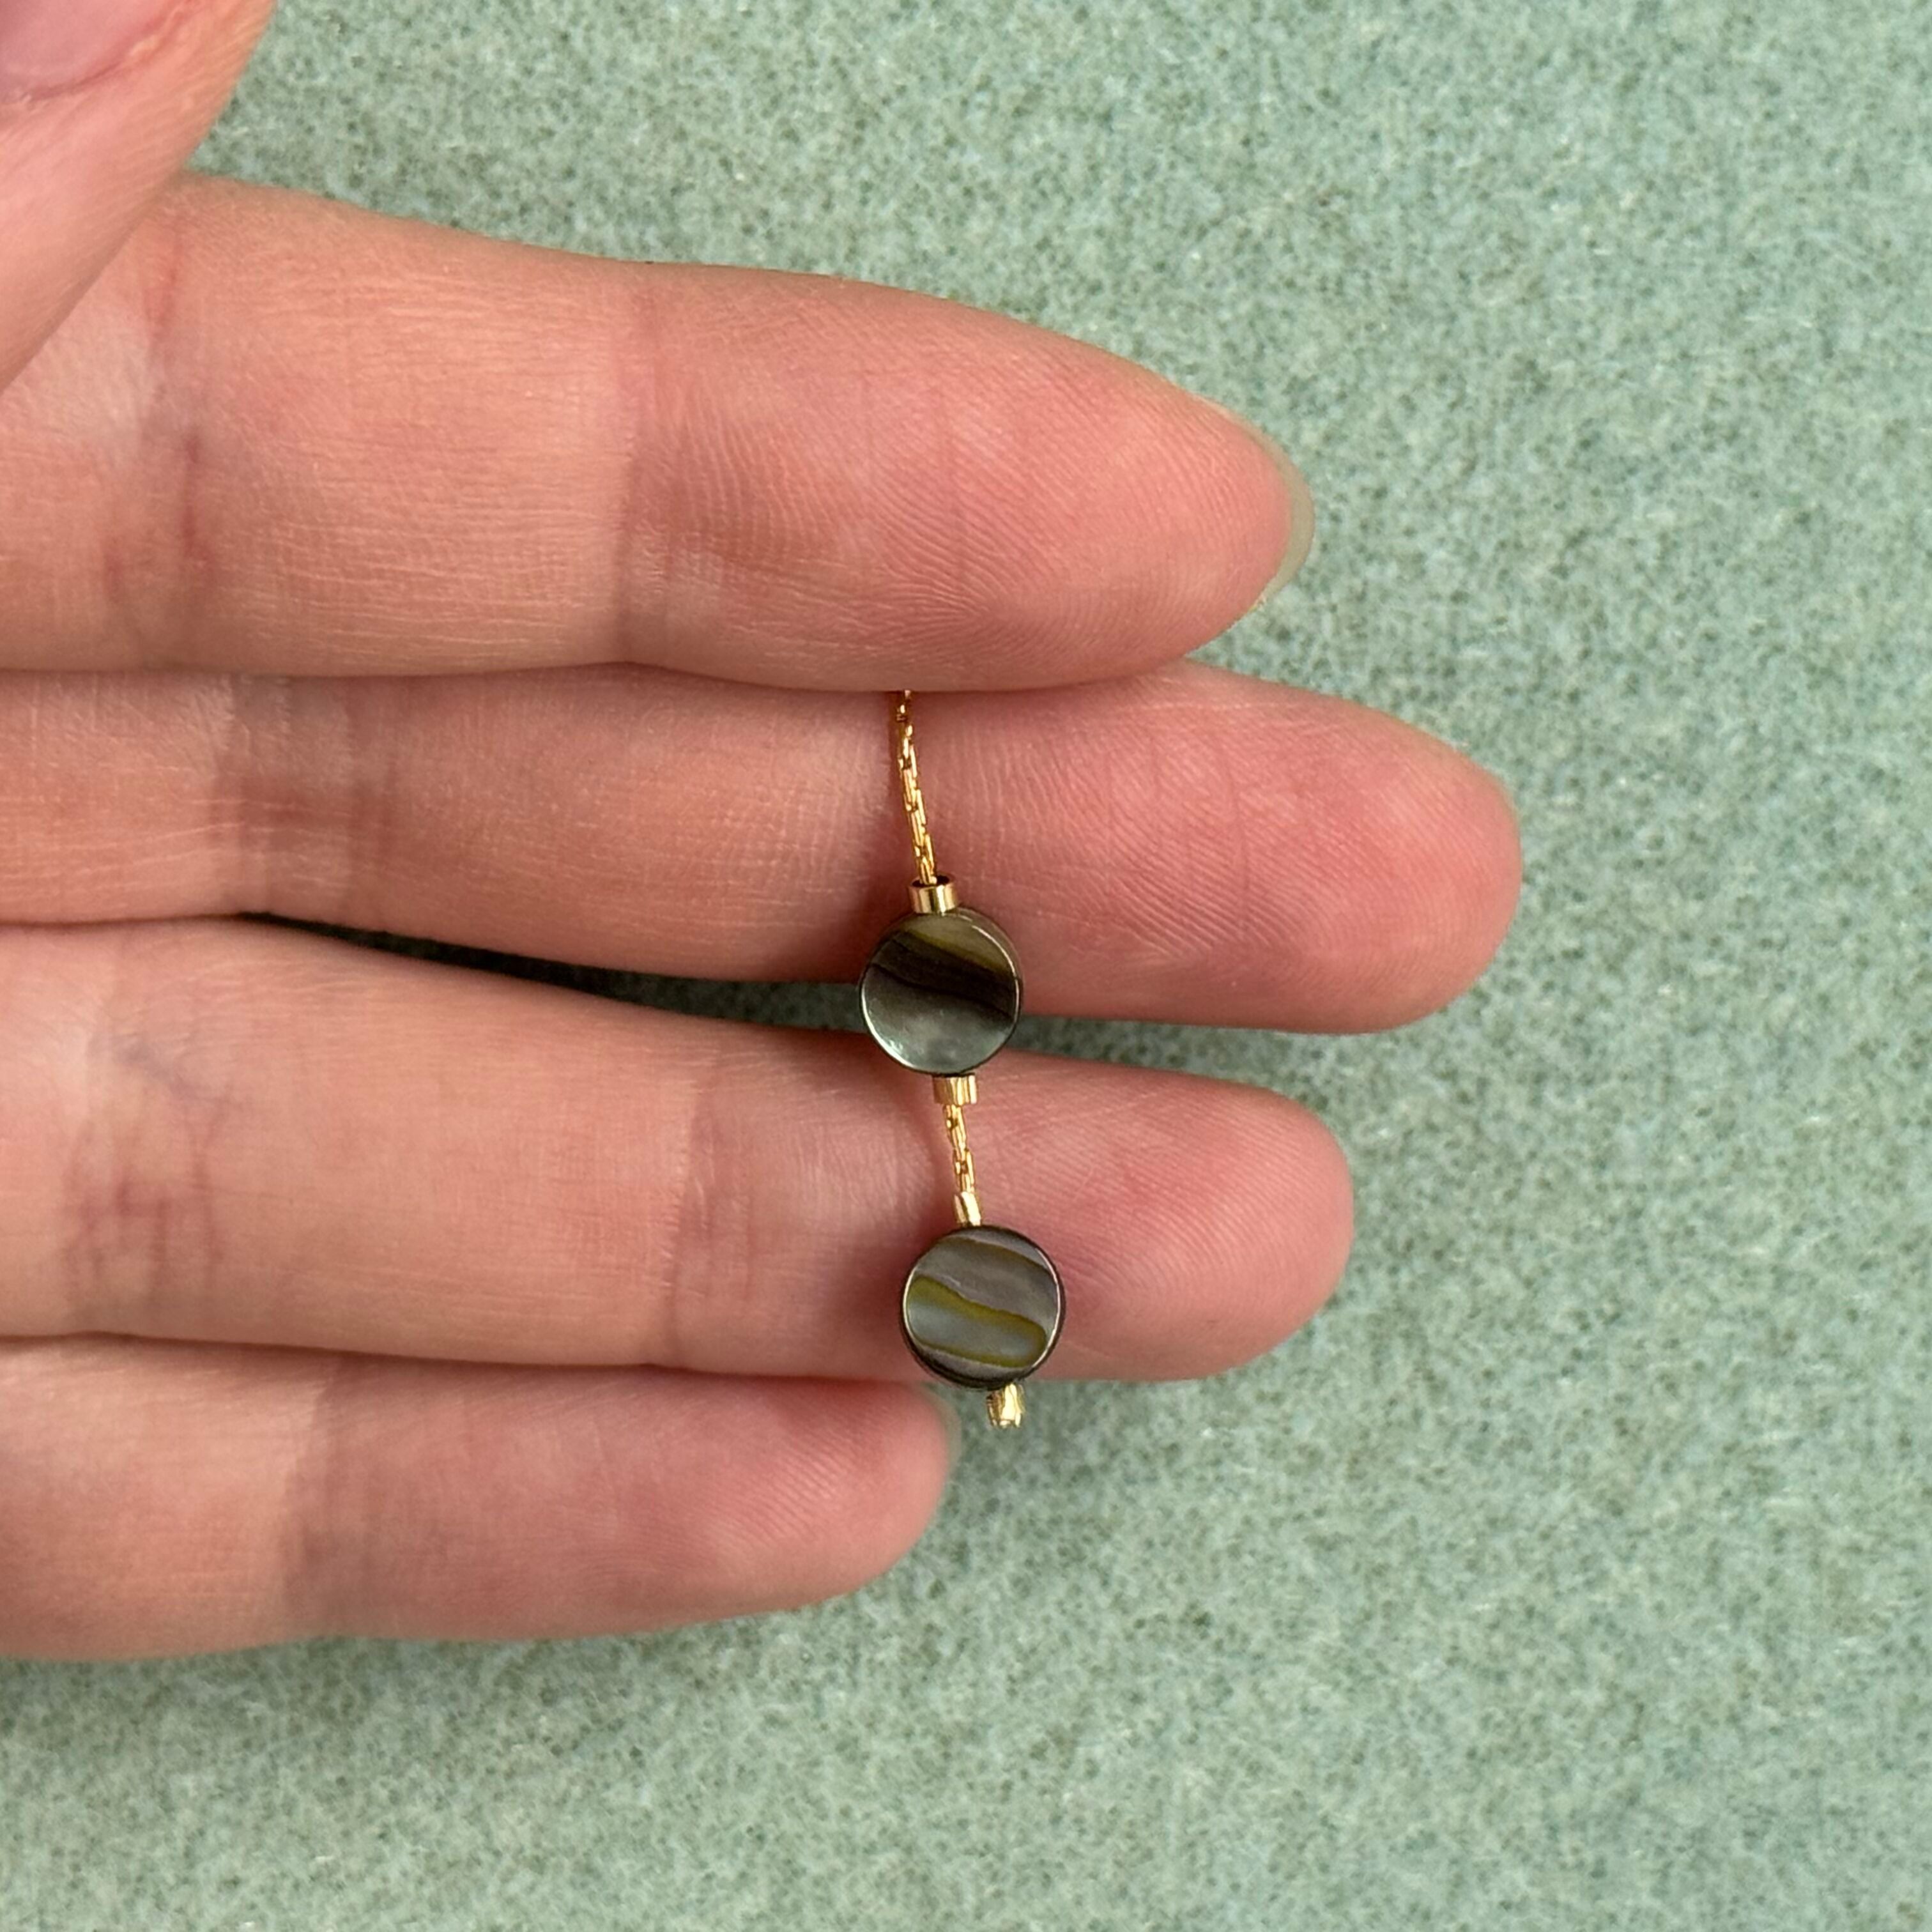
8. String on the first abalone coin bead and then a crimp

9. Secure the crimp bead using the crimping pliers with the grooved part of the pliers. *you want to center the crimp bead on the beading chain to get the best finished crimp*
10. Fold the crimp using the far left section of the crimping pliers
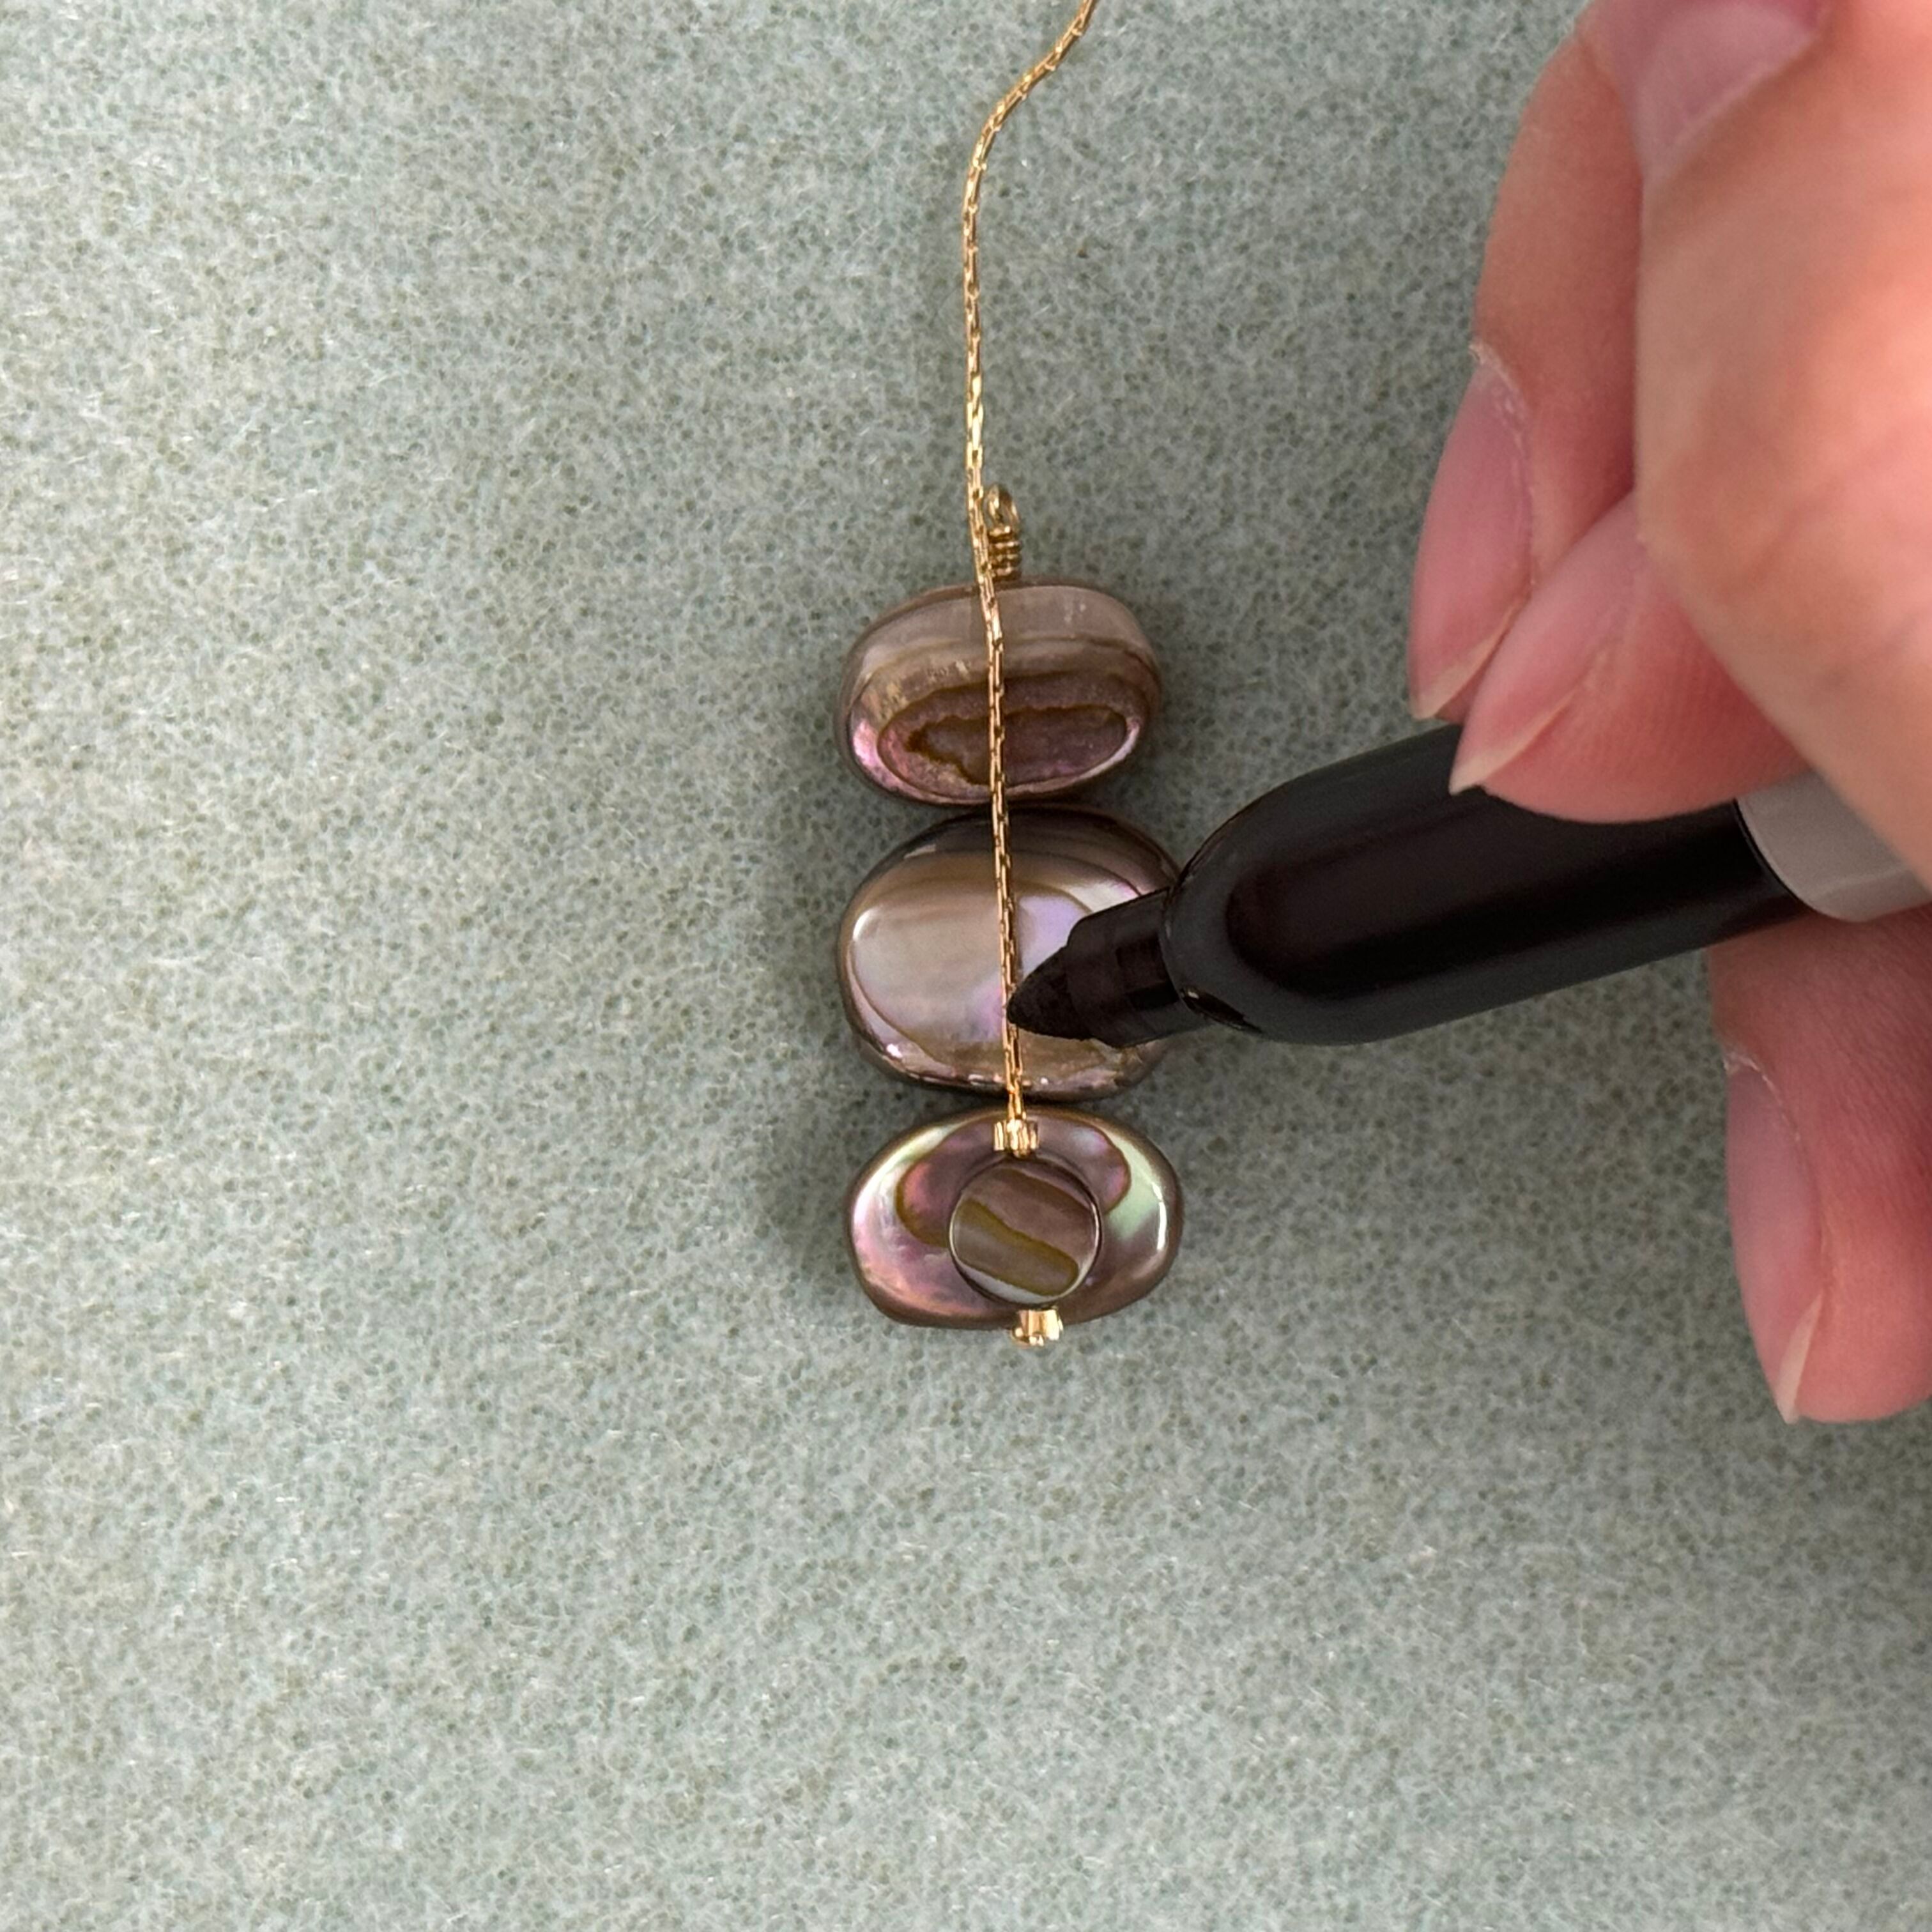
11. Place the 3 abalone bead charm flat with the chain and abalone coin on top like so. Take a sharpie and lightly mark a little below the halfway mark. This is where you will add the next crimp to hold the second abalone coin bead

12. Secure the crimp bead using the crimping pliers with the grooved part of the pliers. *you want to center the crimp bead on the beading chain to get the best finished crimp*
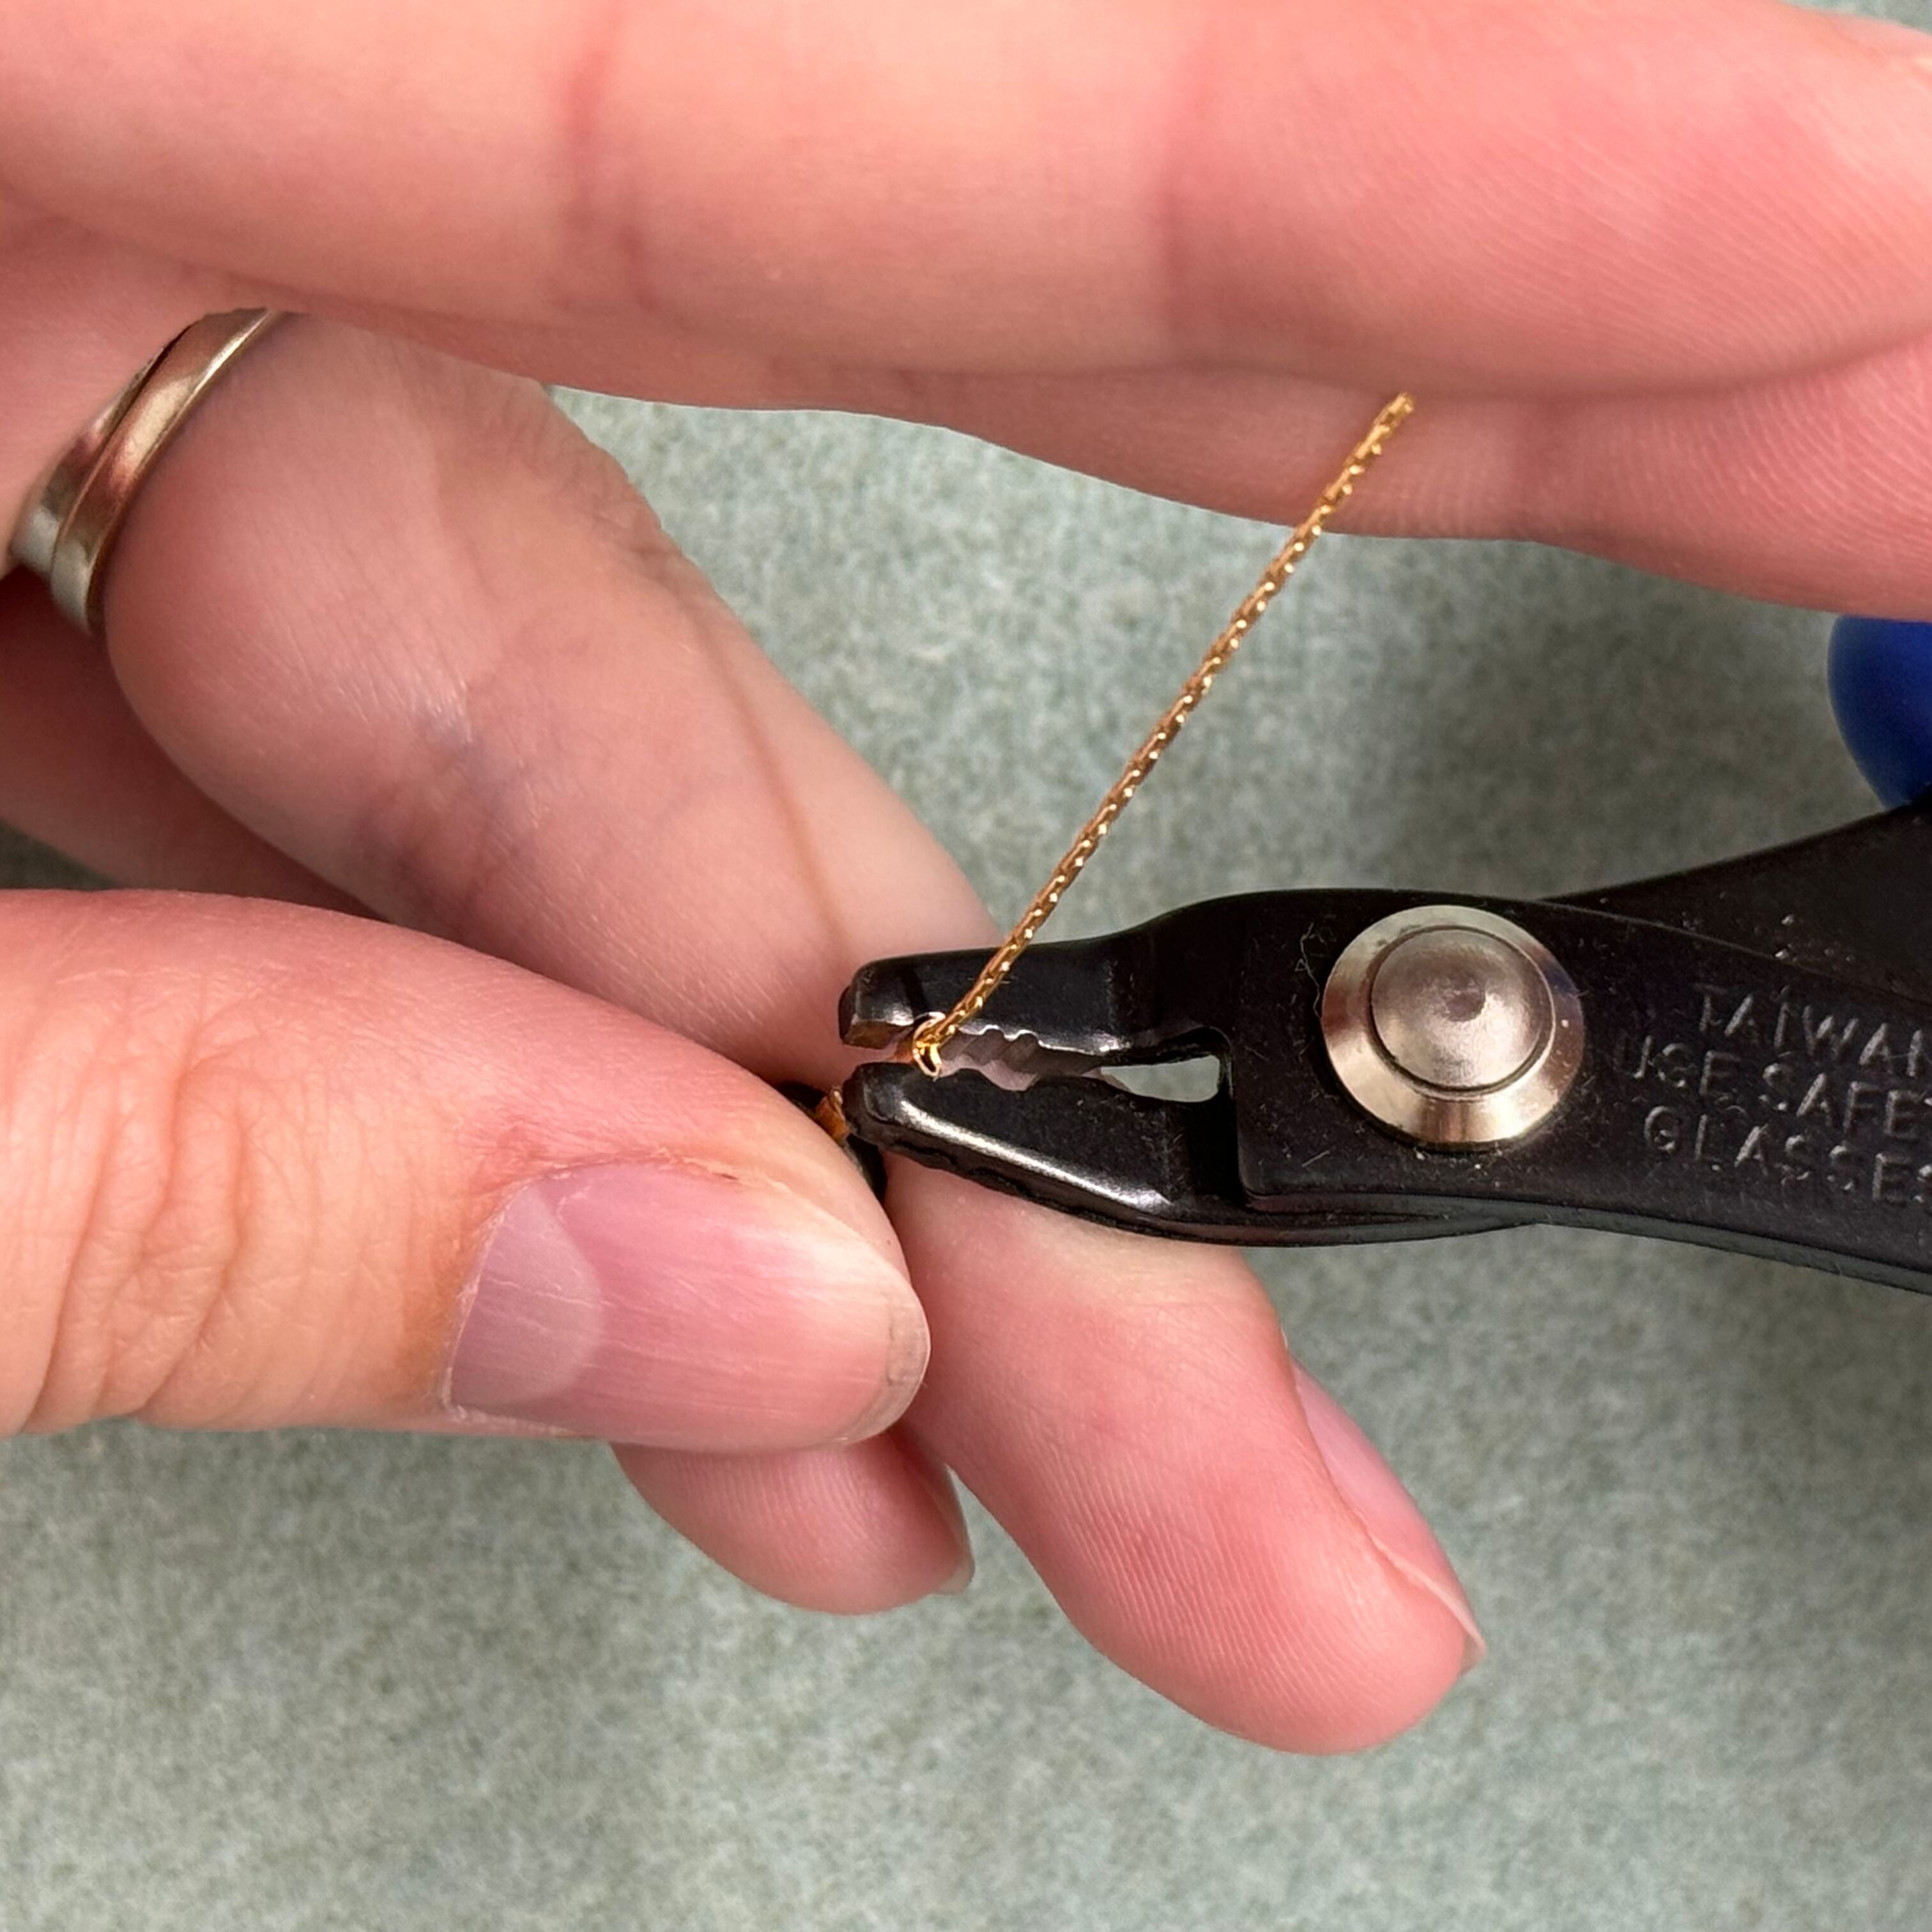
13. Fold the crimp over and press tight to secure using the far left part of the crimping pliers
14. Thread on an abalone coin bead and then a crimp bead
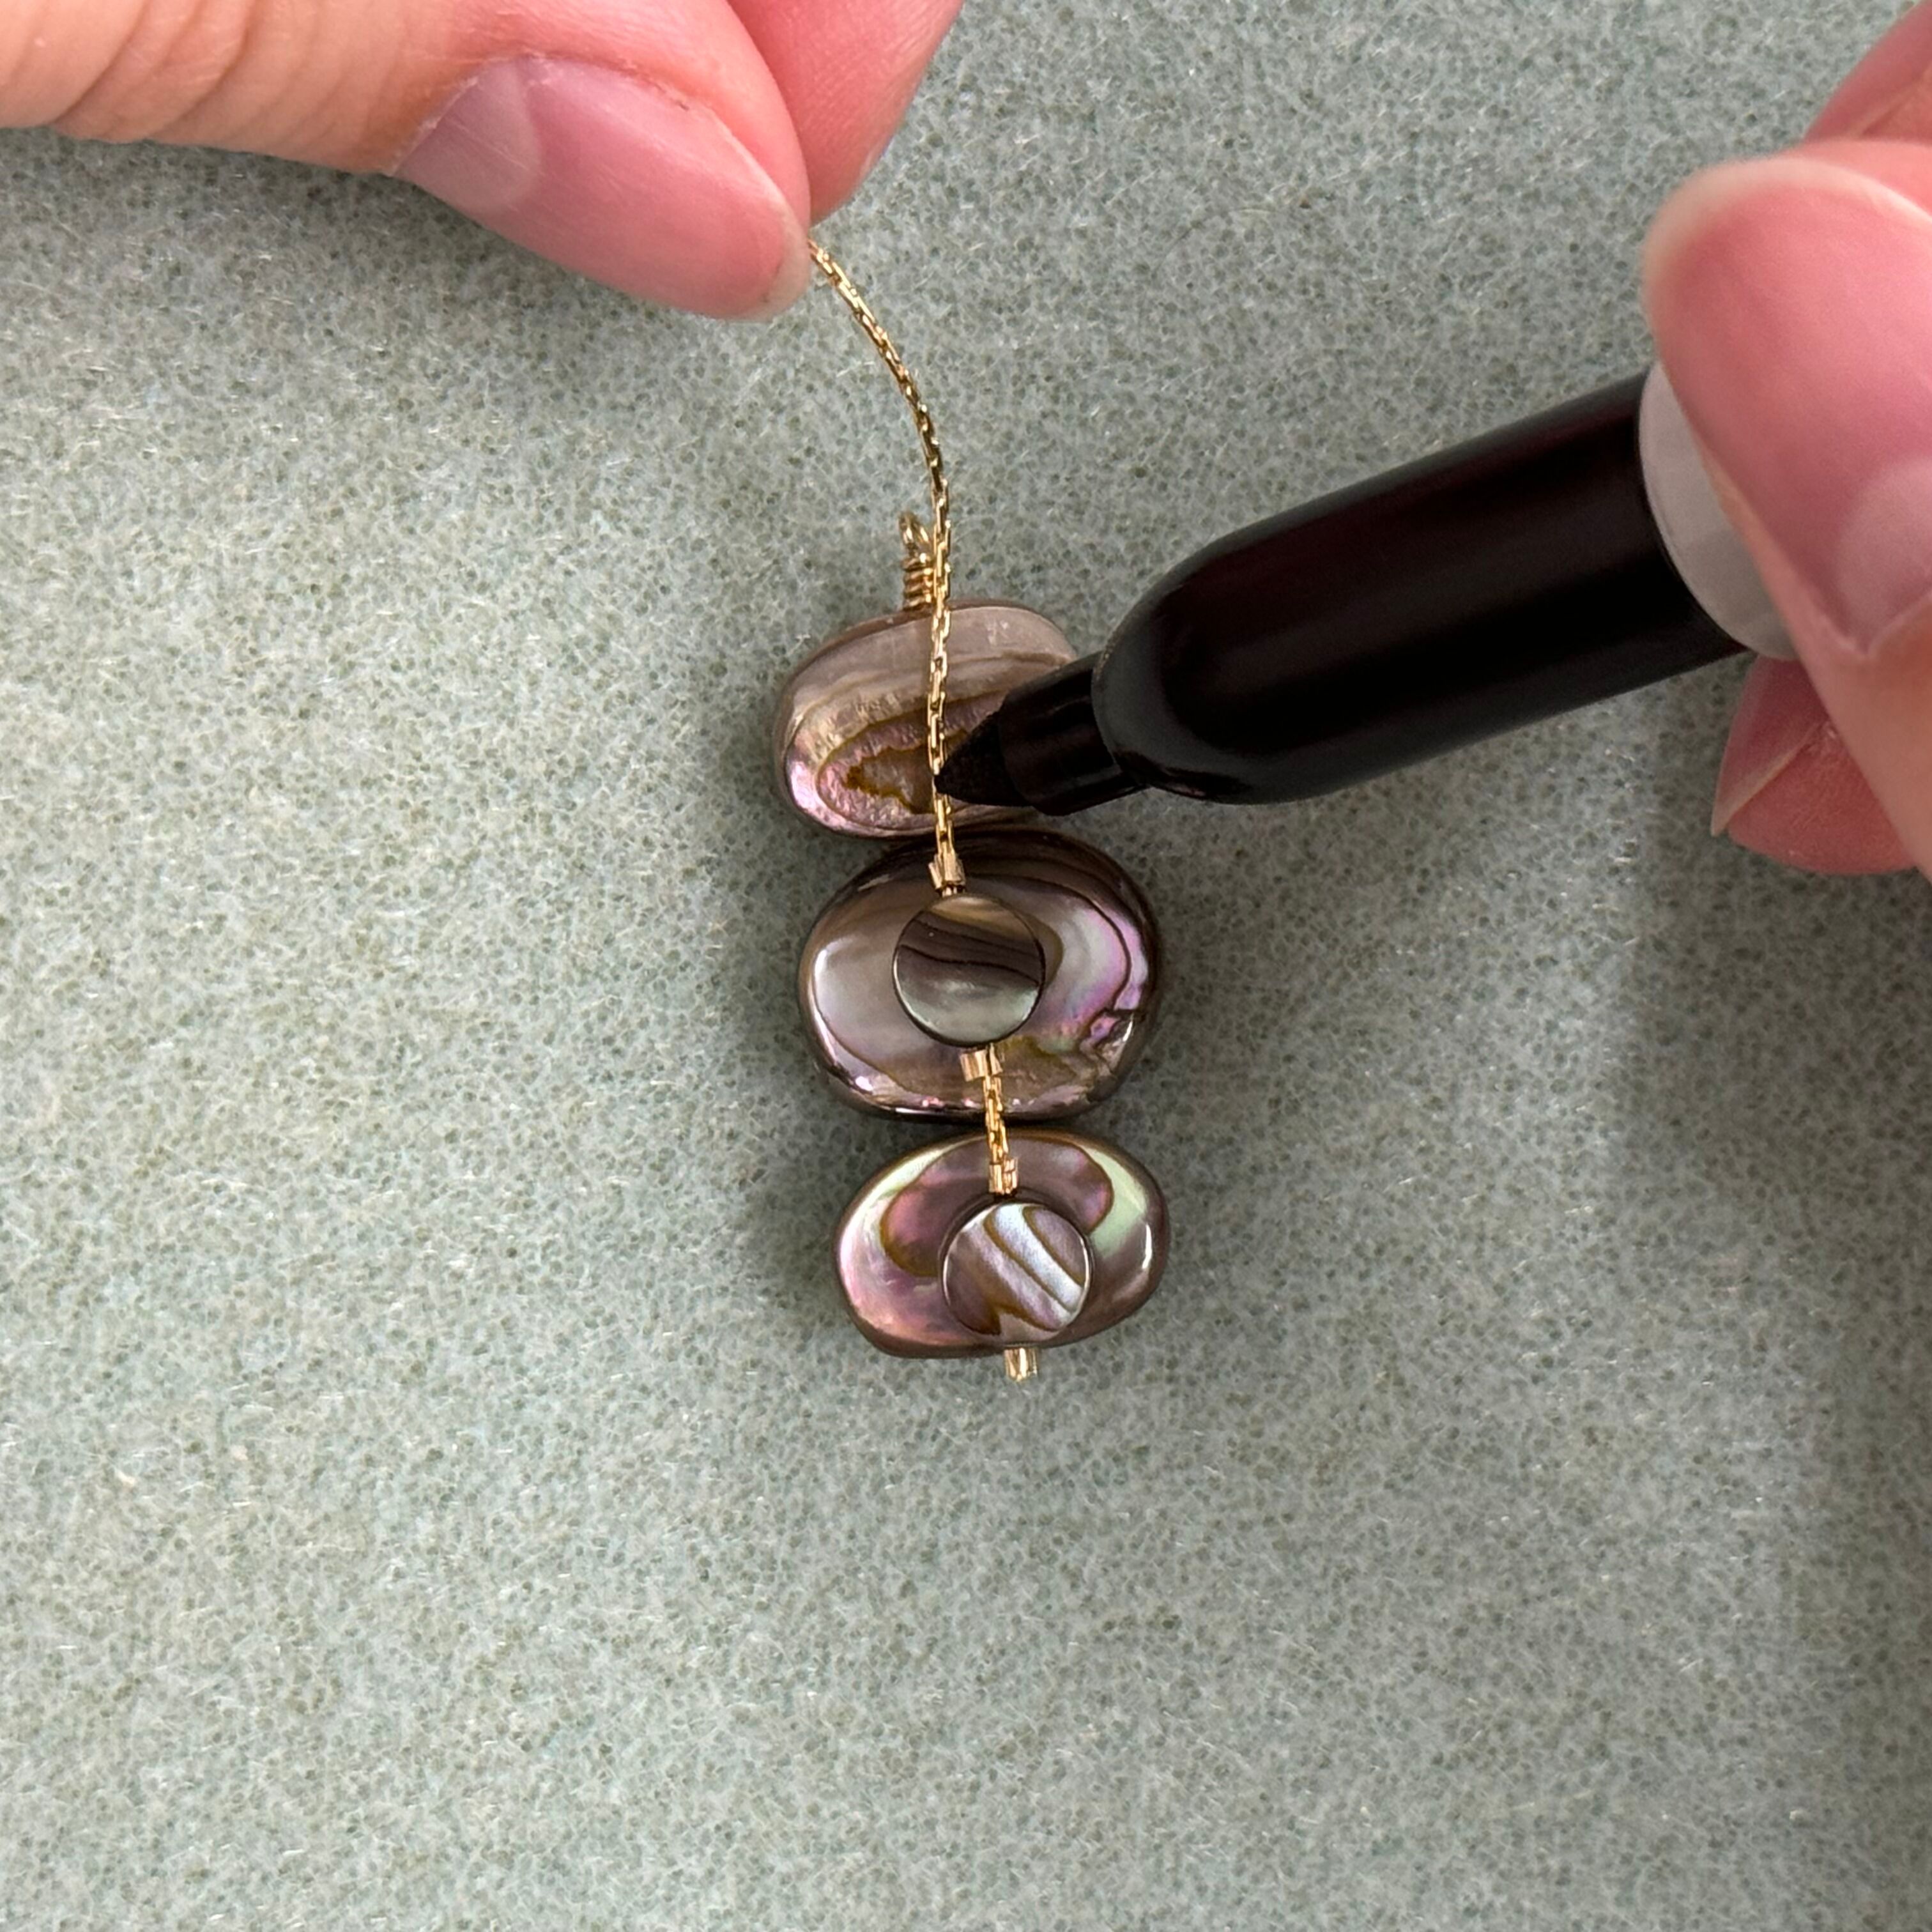
15. Repeat the crimping steps and mark where you want the next crimp to go. It will need to be just below the middle of the first abalone bead. Shown in picture above.
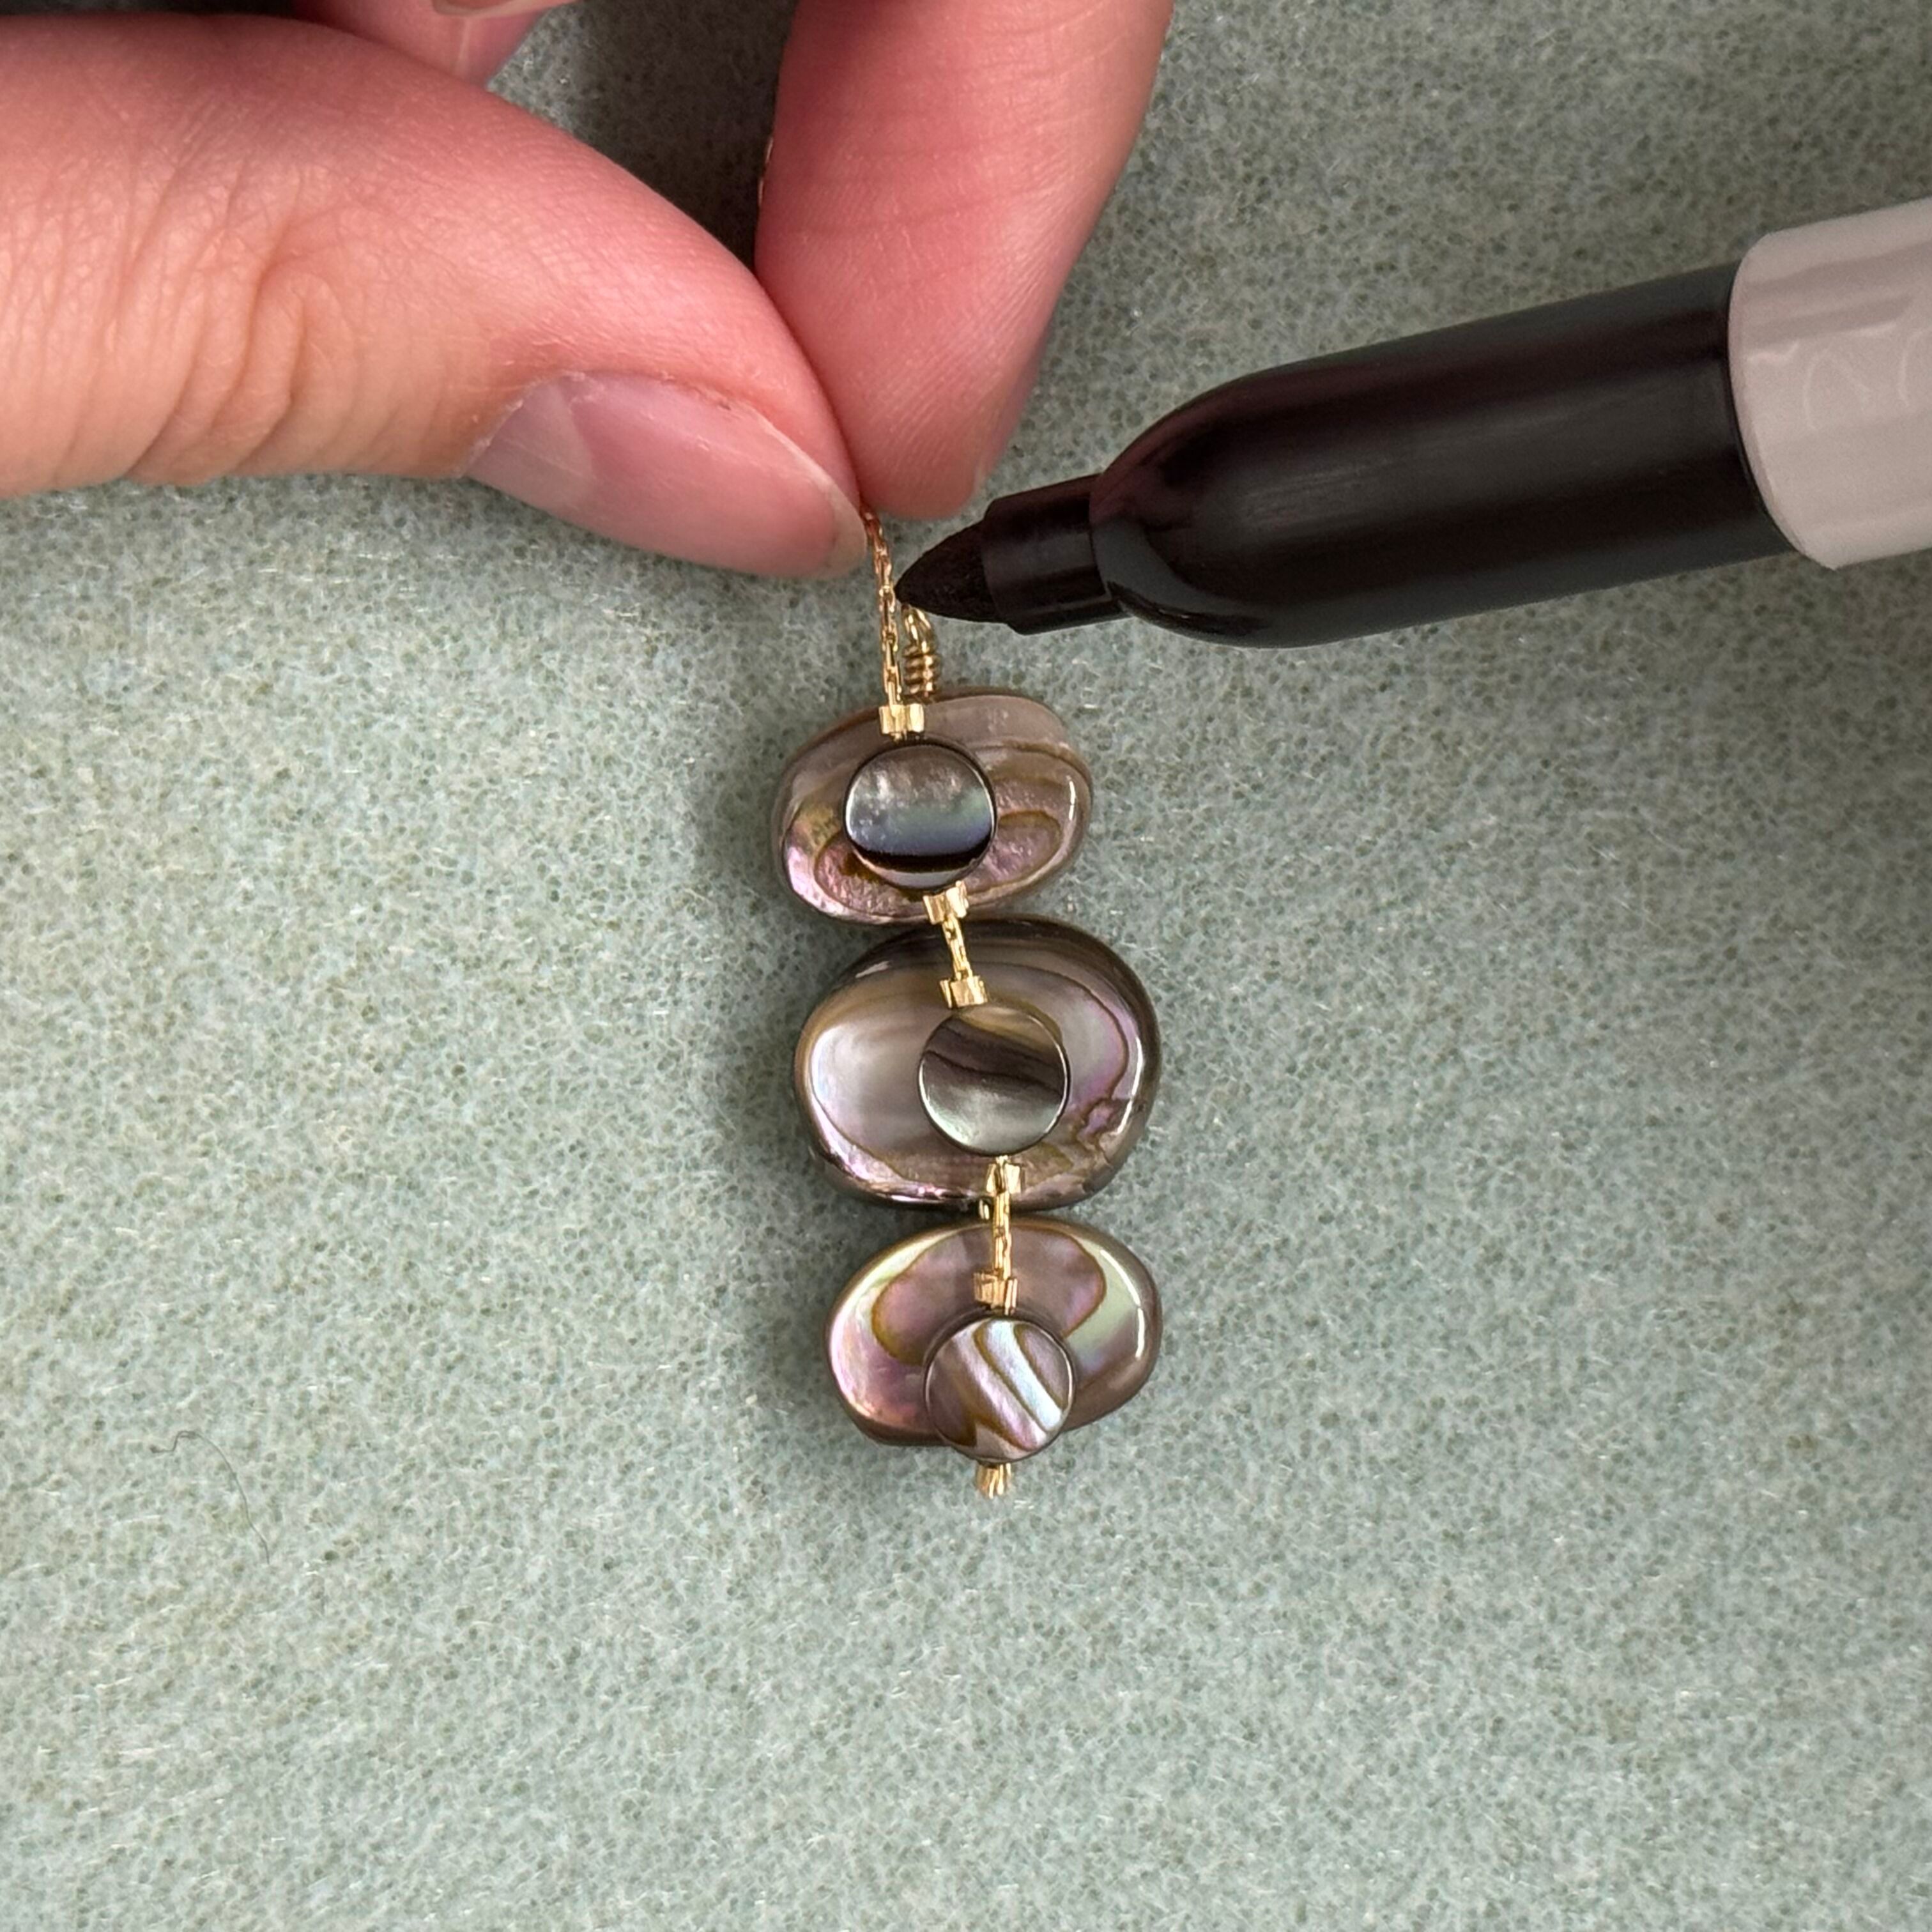
16. Crimp, add last abalone bead and crimp, then secure the crimp bead as done before. Positioning how far you would like the abalone and chain to dangle, take your sharpie and make a mark where the chain meets the top of the wire wrap. Cut the chain where you have marked with the sharpie
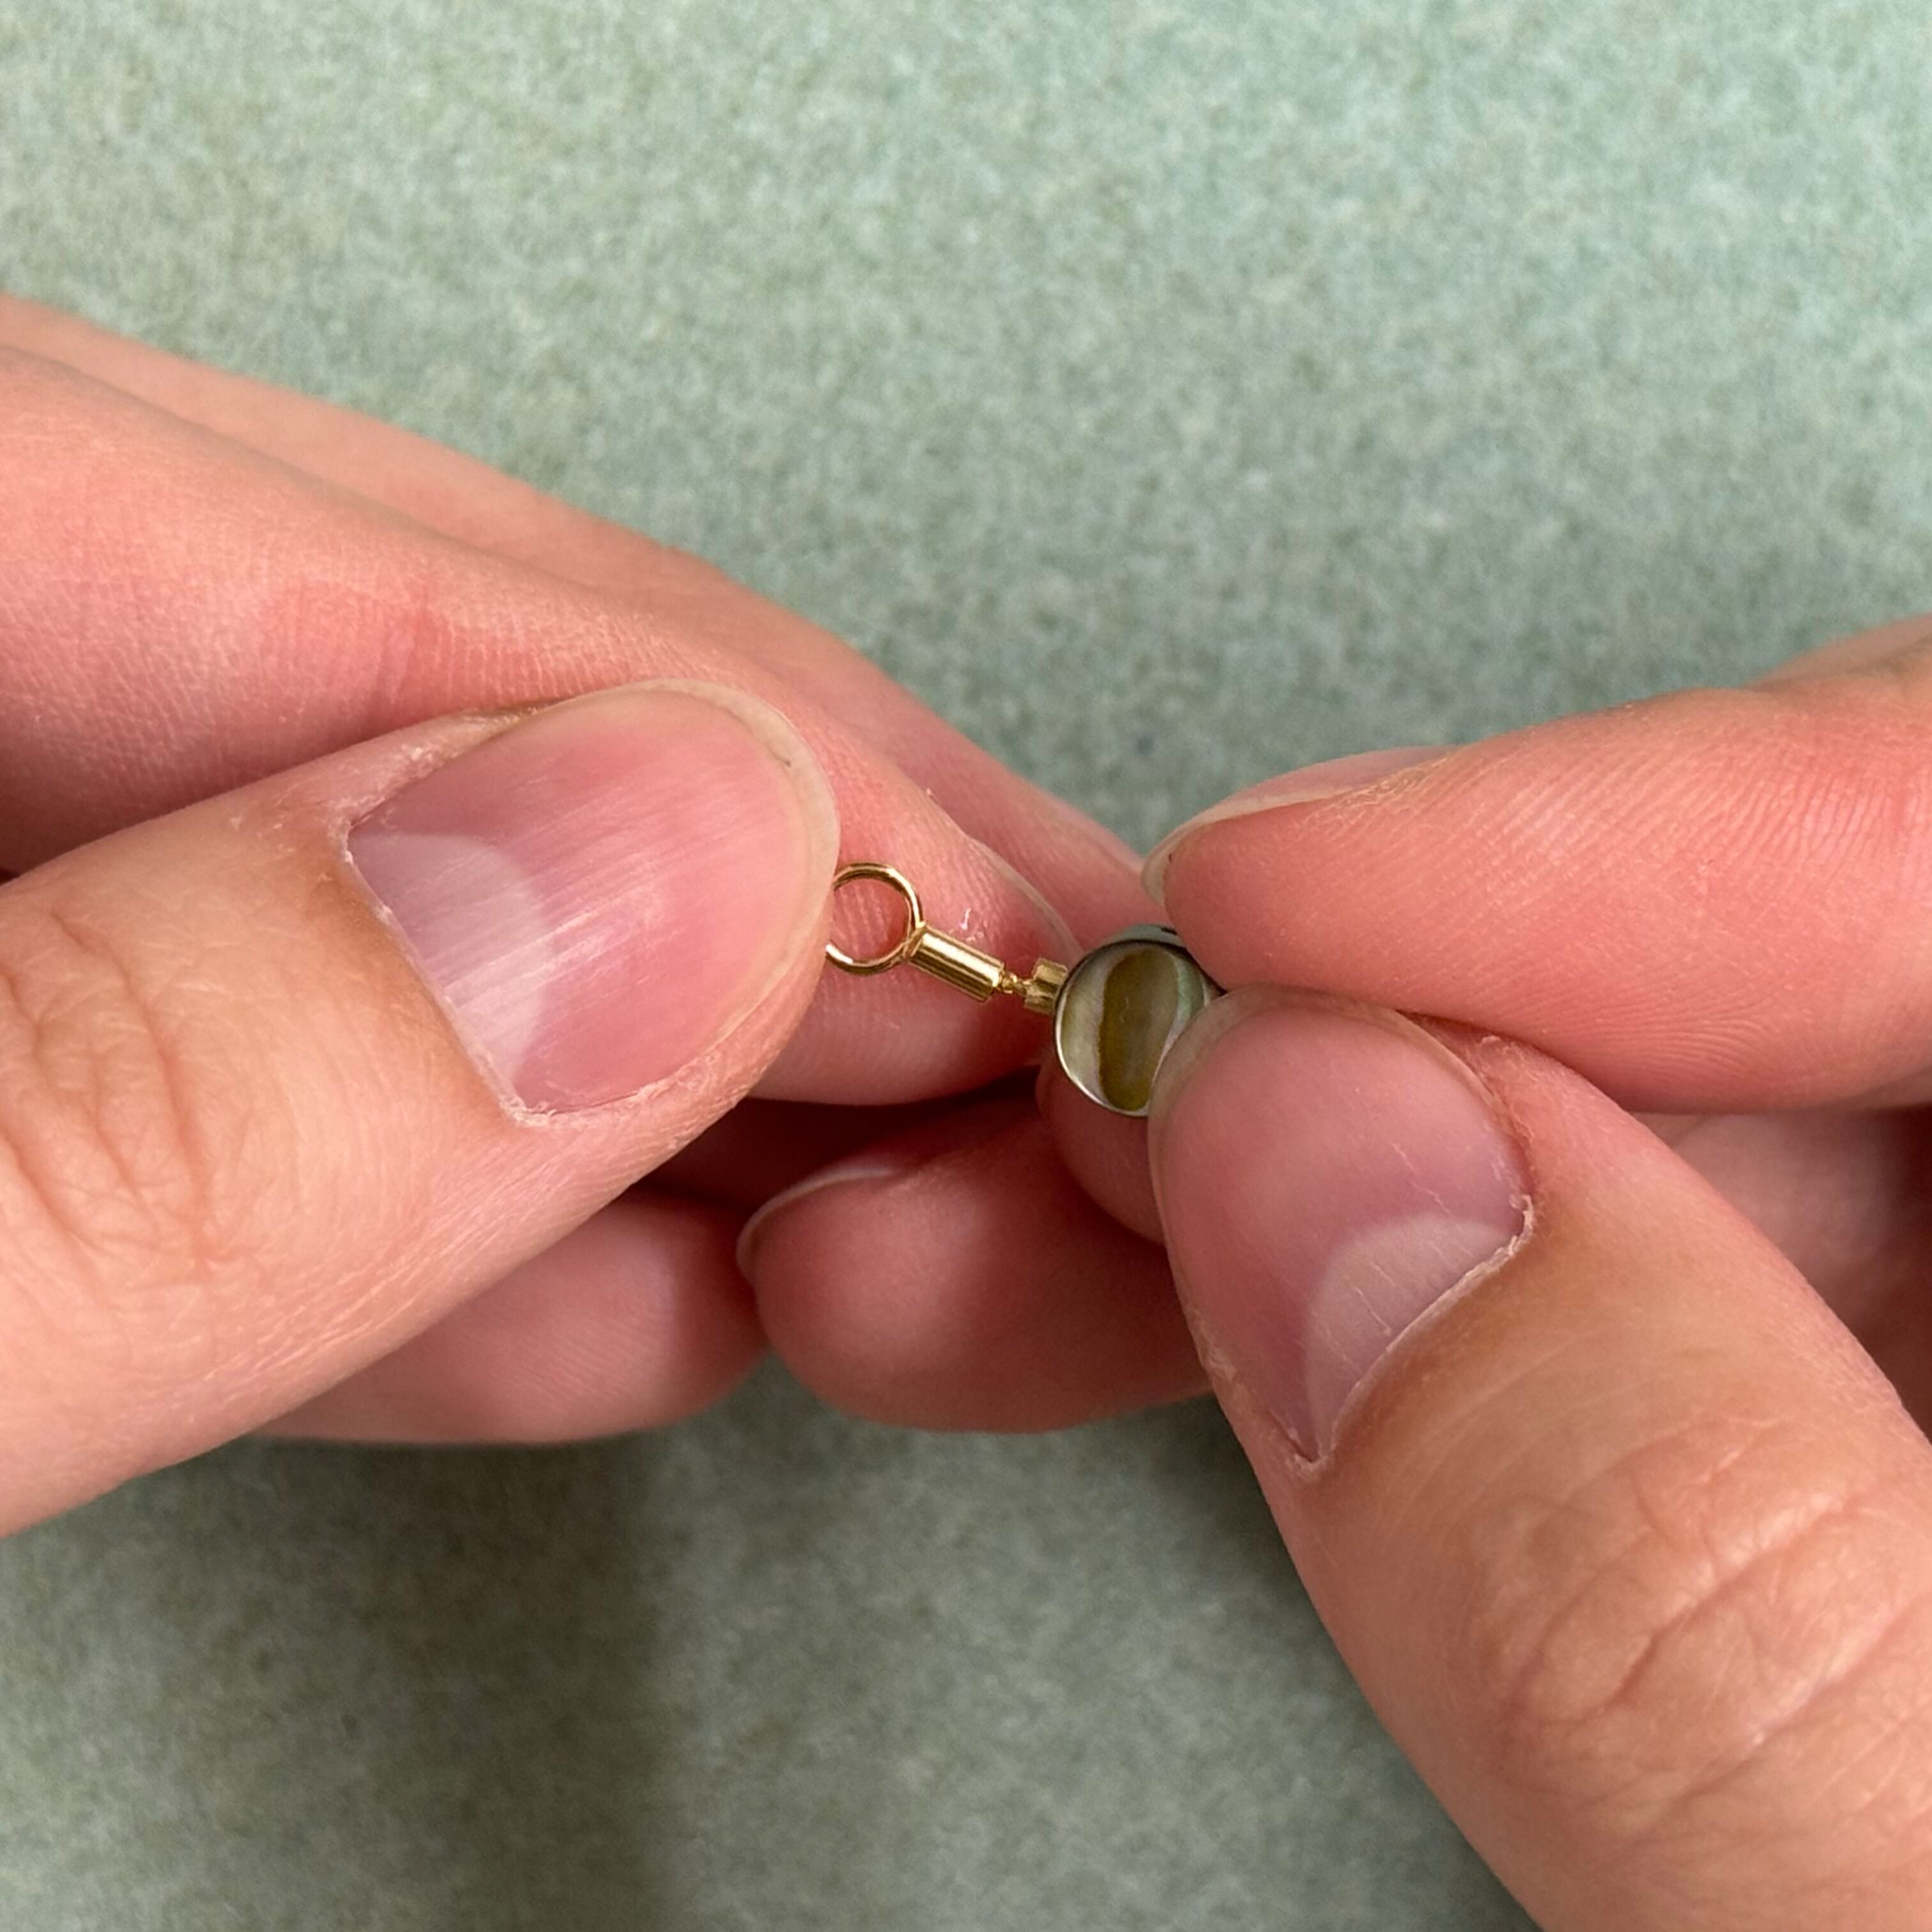
17. Add a dab of gs-hypo cement inside your 1mm crimp end cap and insert the beading chain you just cut
18. Gently squish the end cap using your chain nose pliers to secure the chain. Wait for glue to dry before completing the next steps
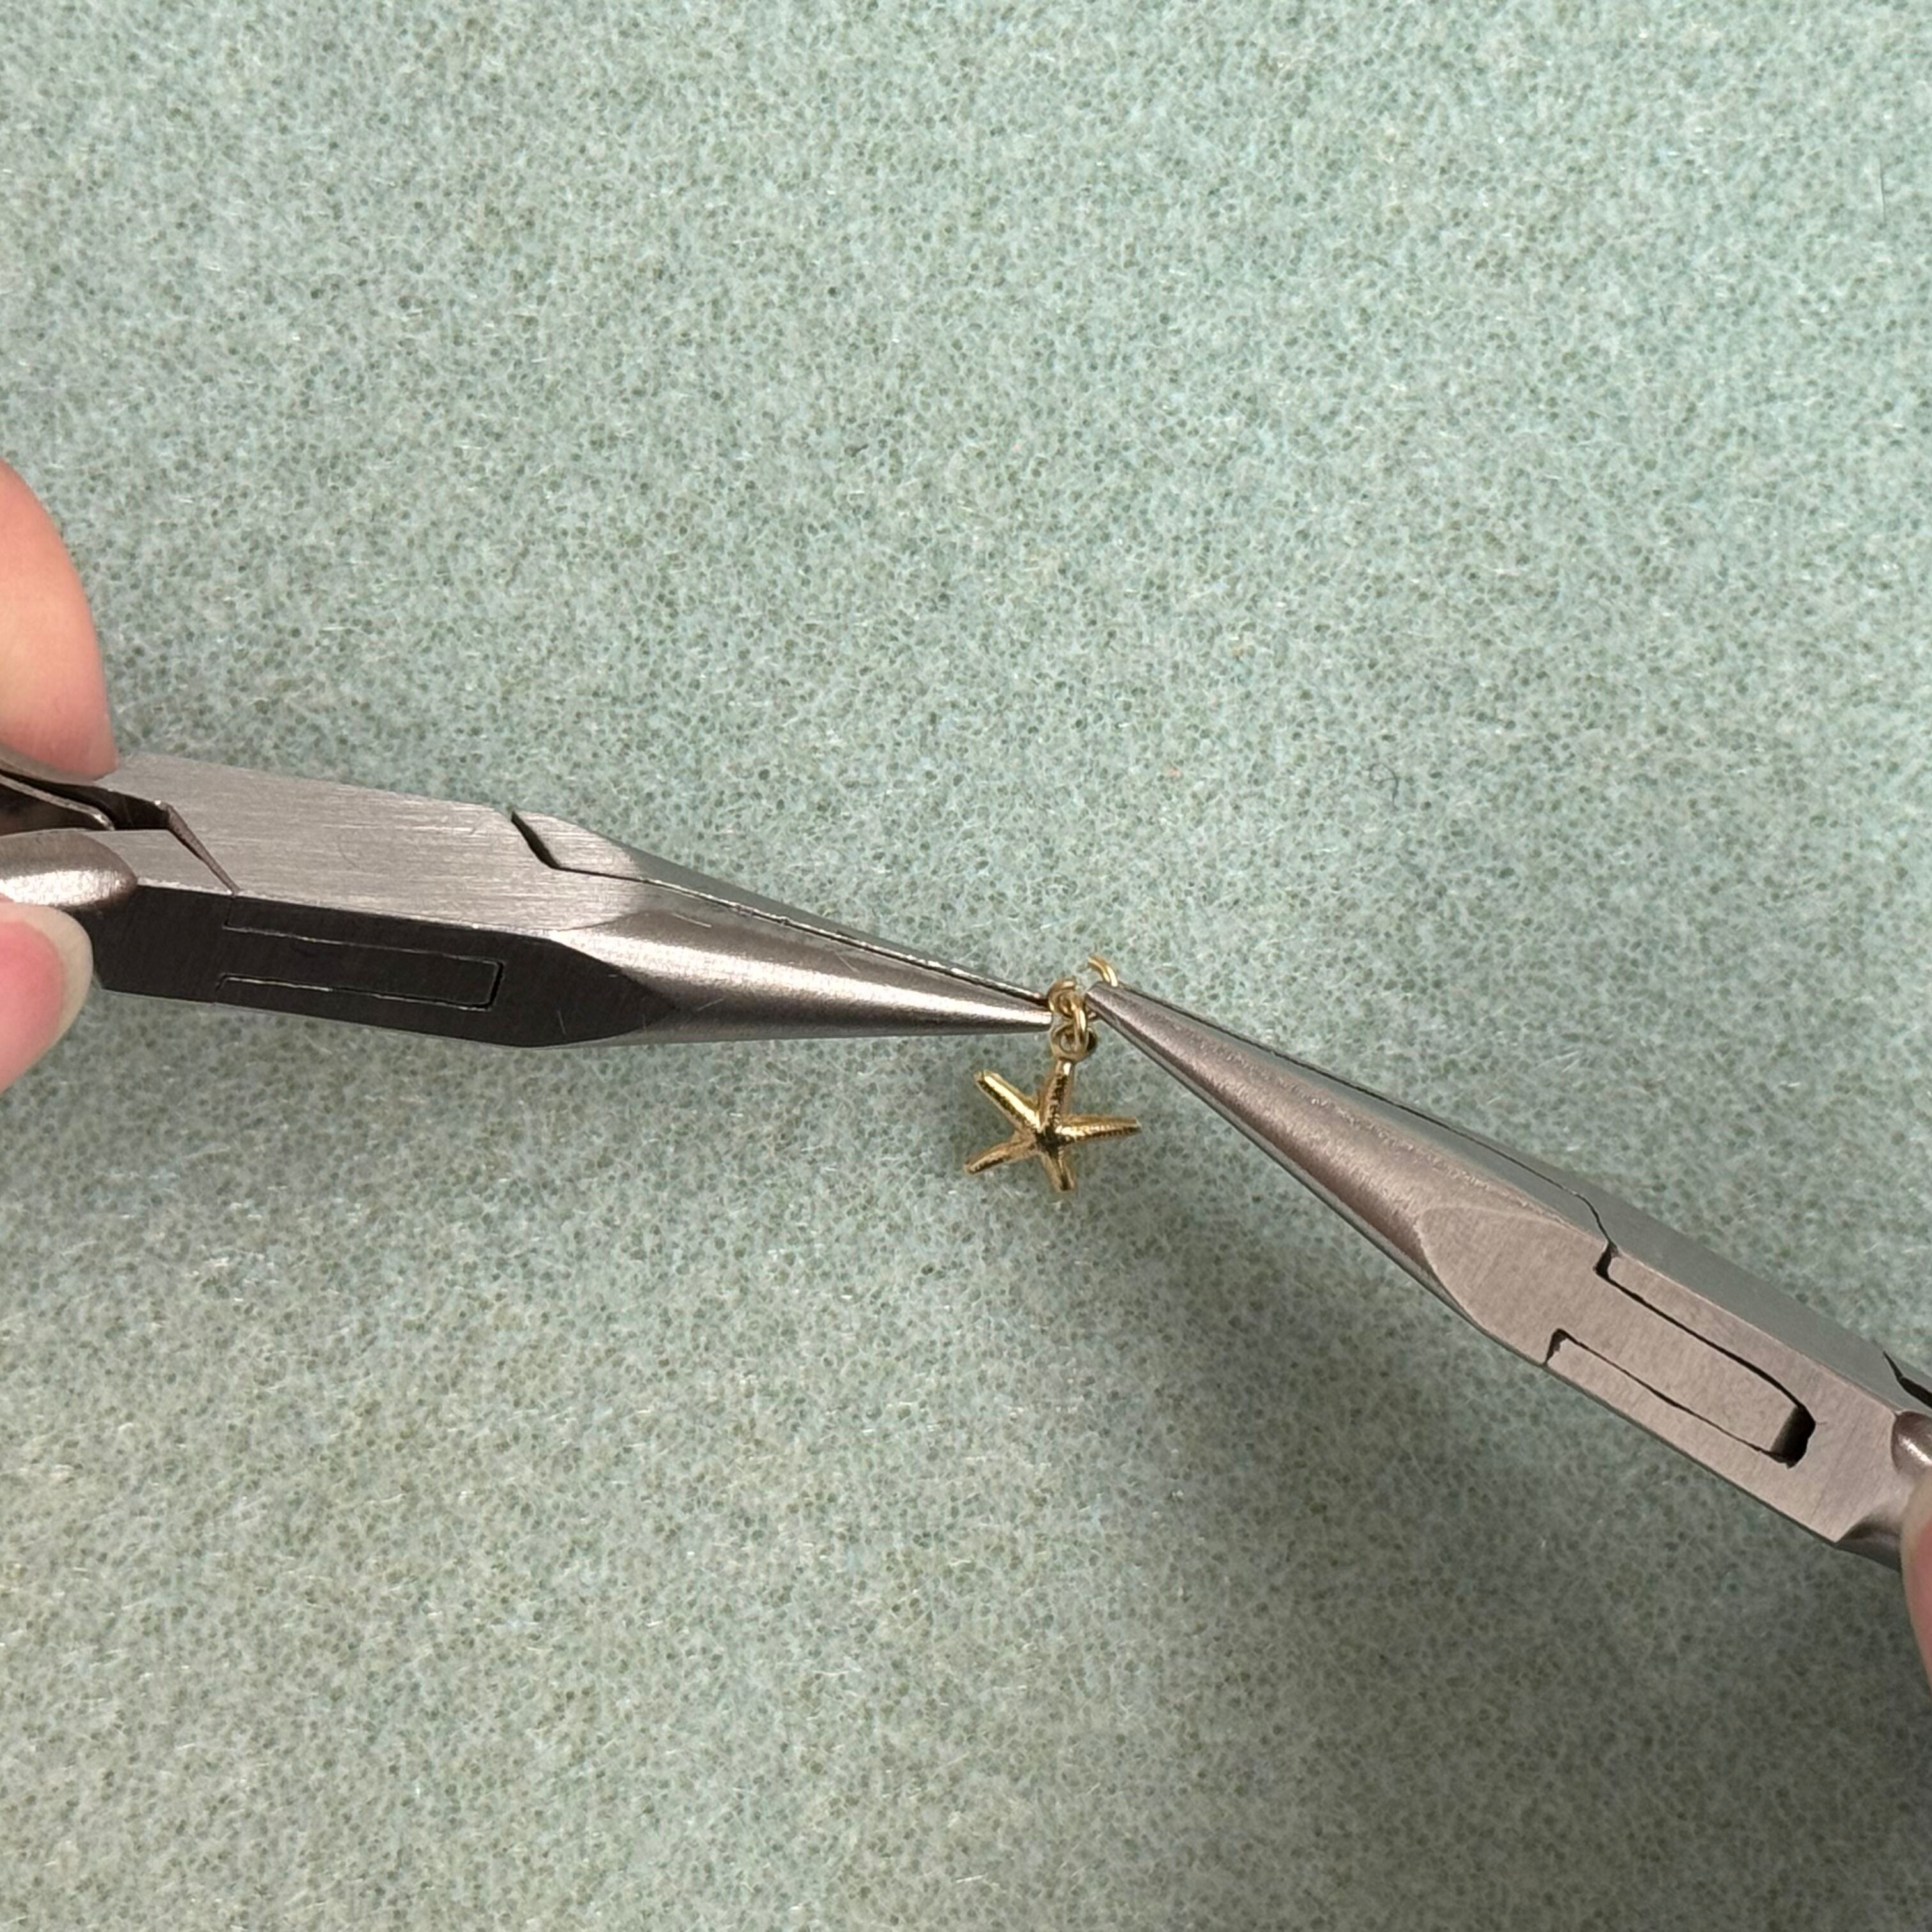
19. Attach a 3mm jump ring onto the starfish charm, and then attach a 3mm jump ring to the jump ring you just attached to the charm. Set aside
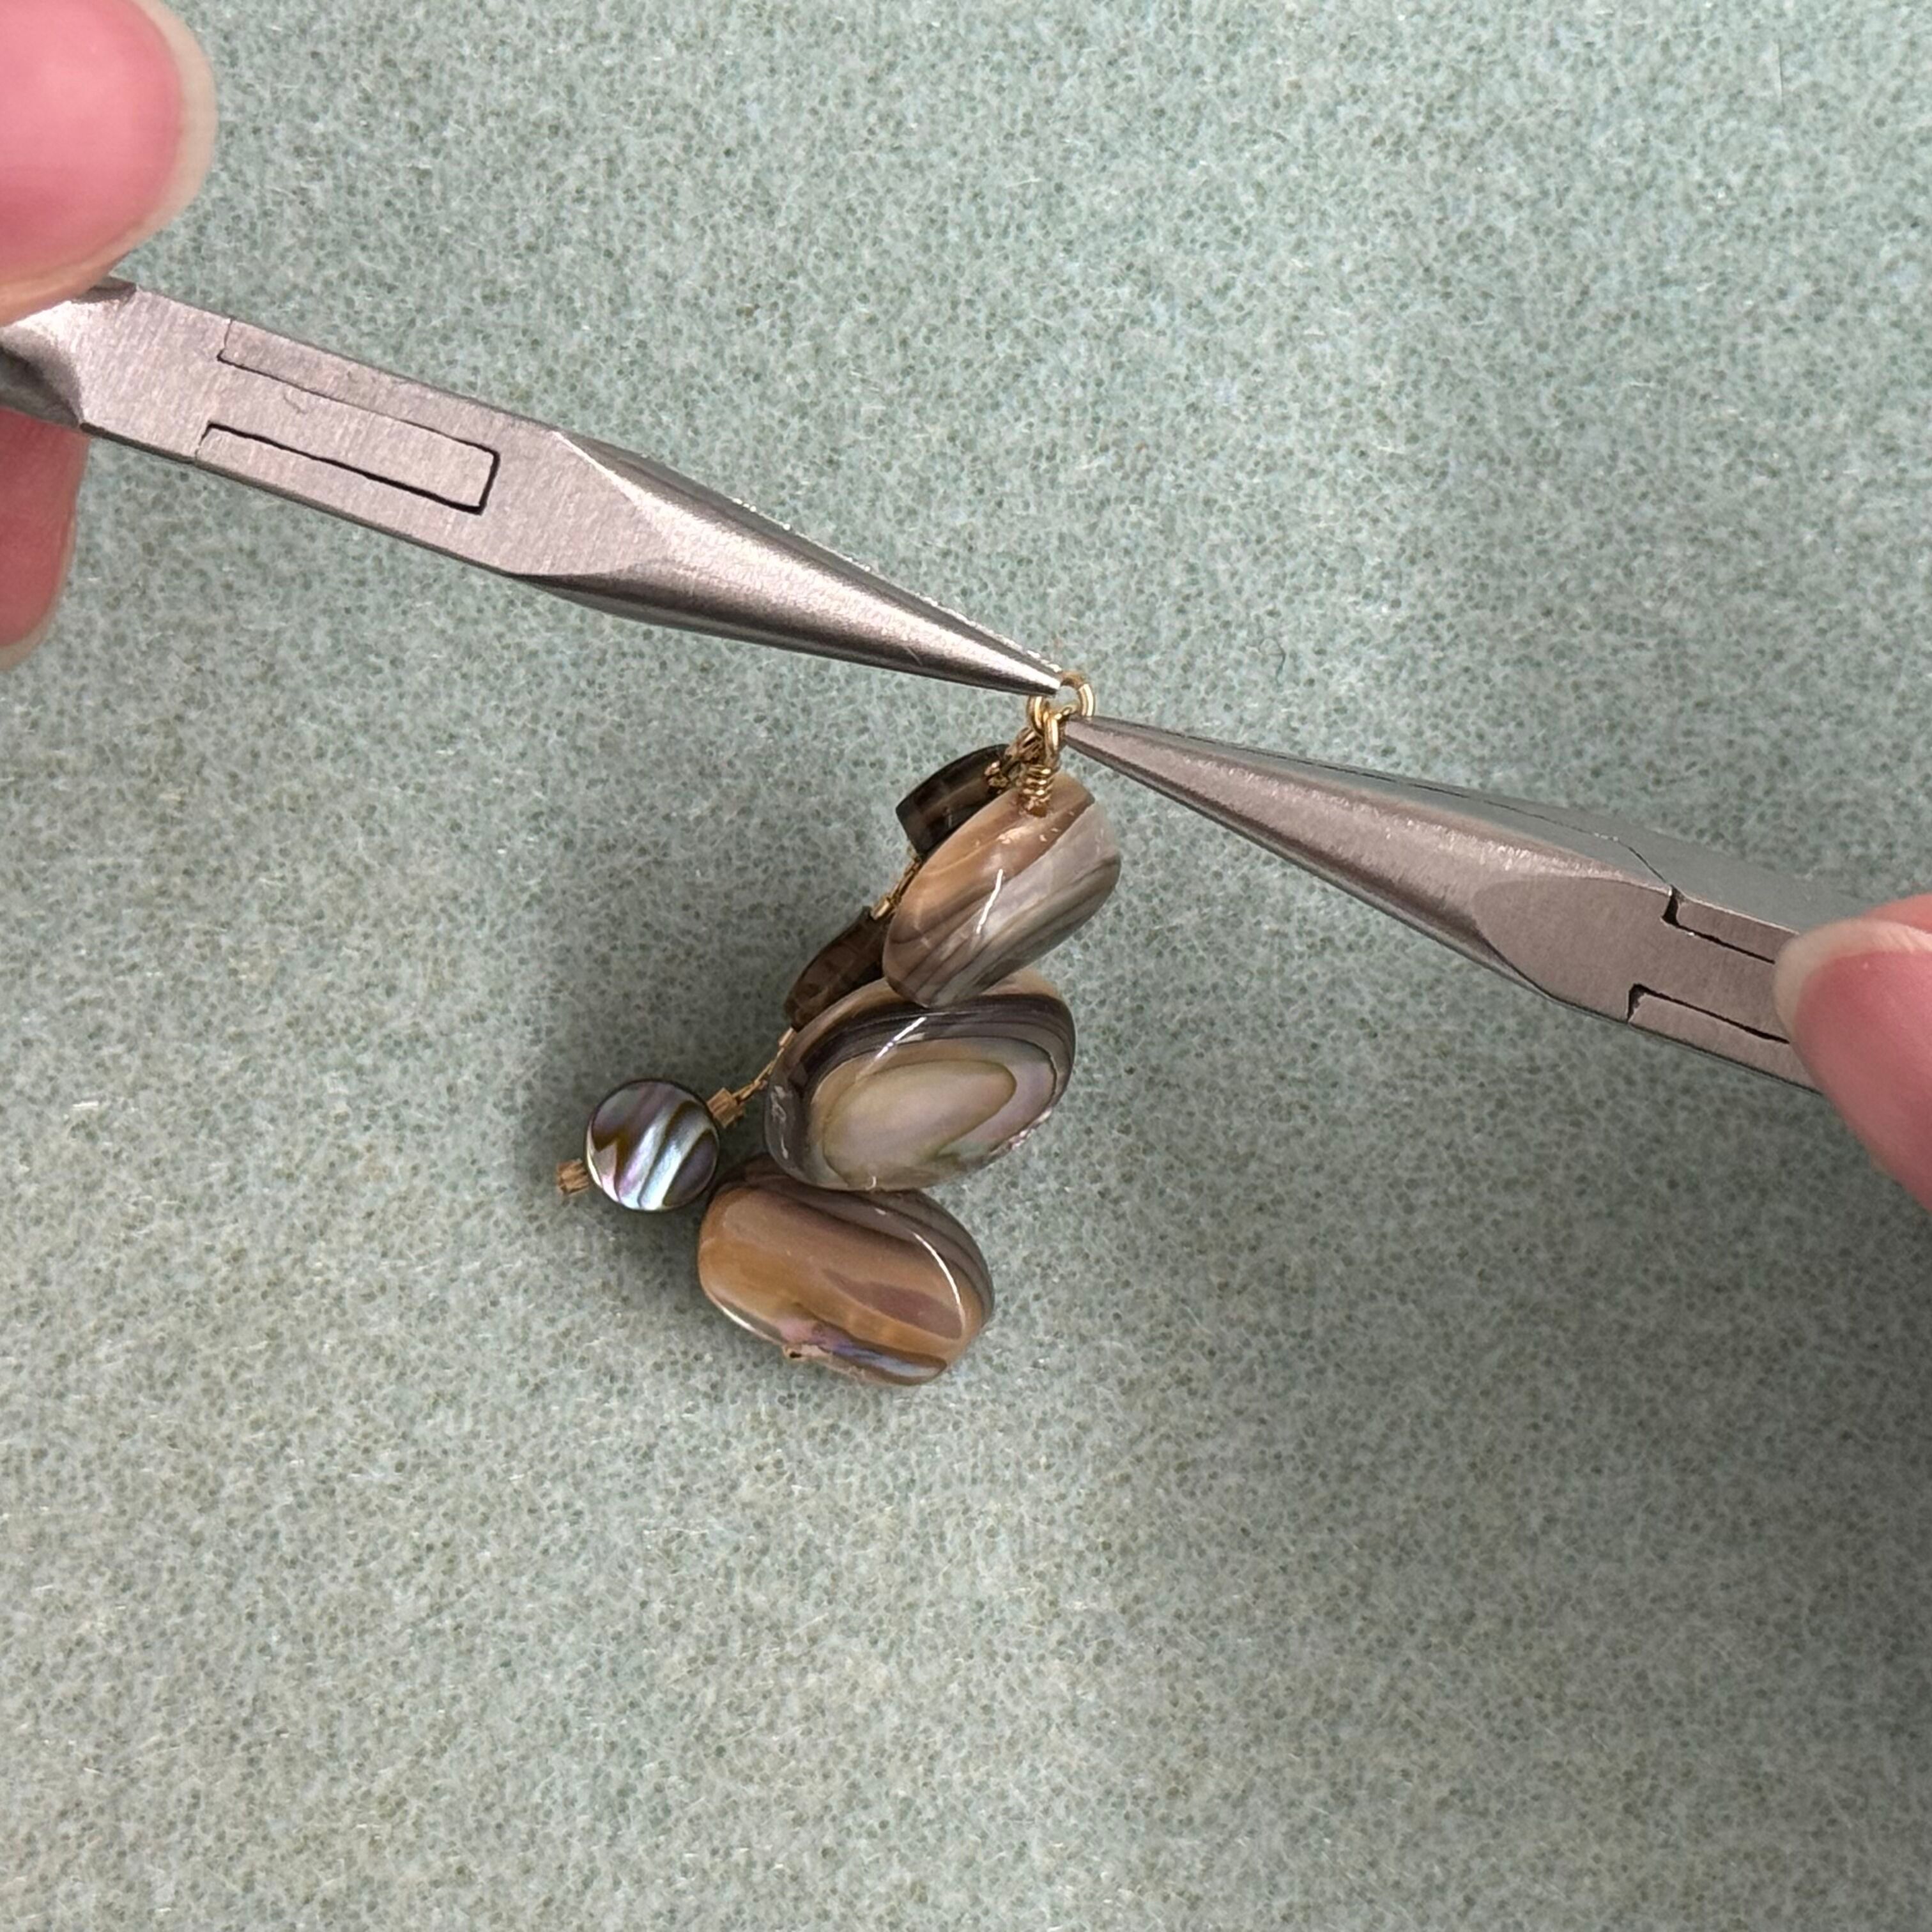
20. Attach both the wire wrapped abalone "pendant" and abalone coins on chain - onto a 3mm jump ring. Then attach a jump ring to the jump ring you just added
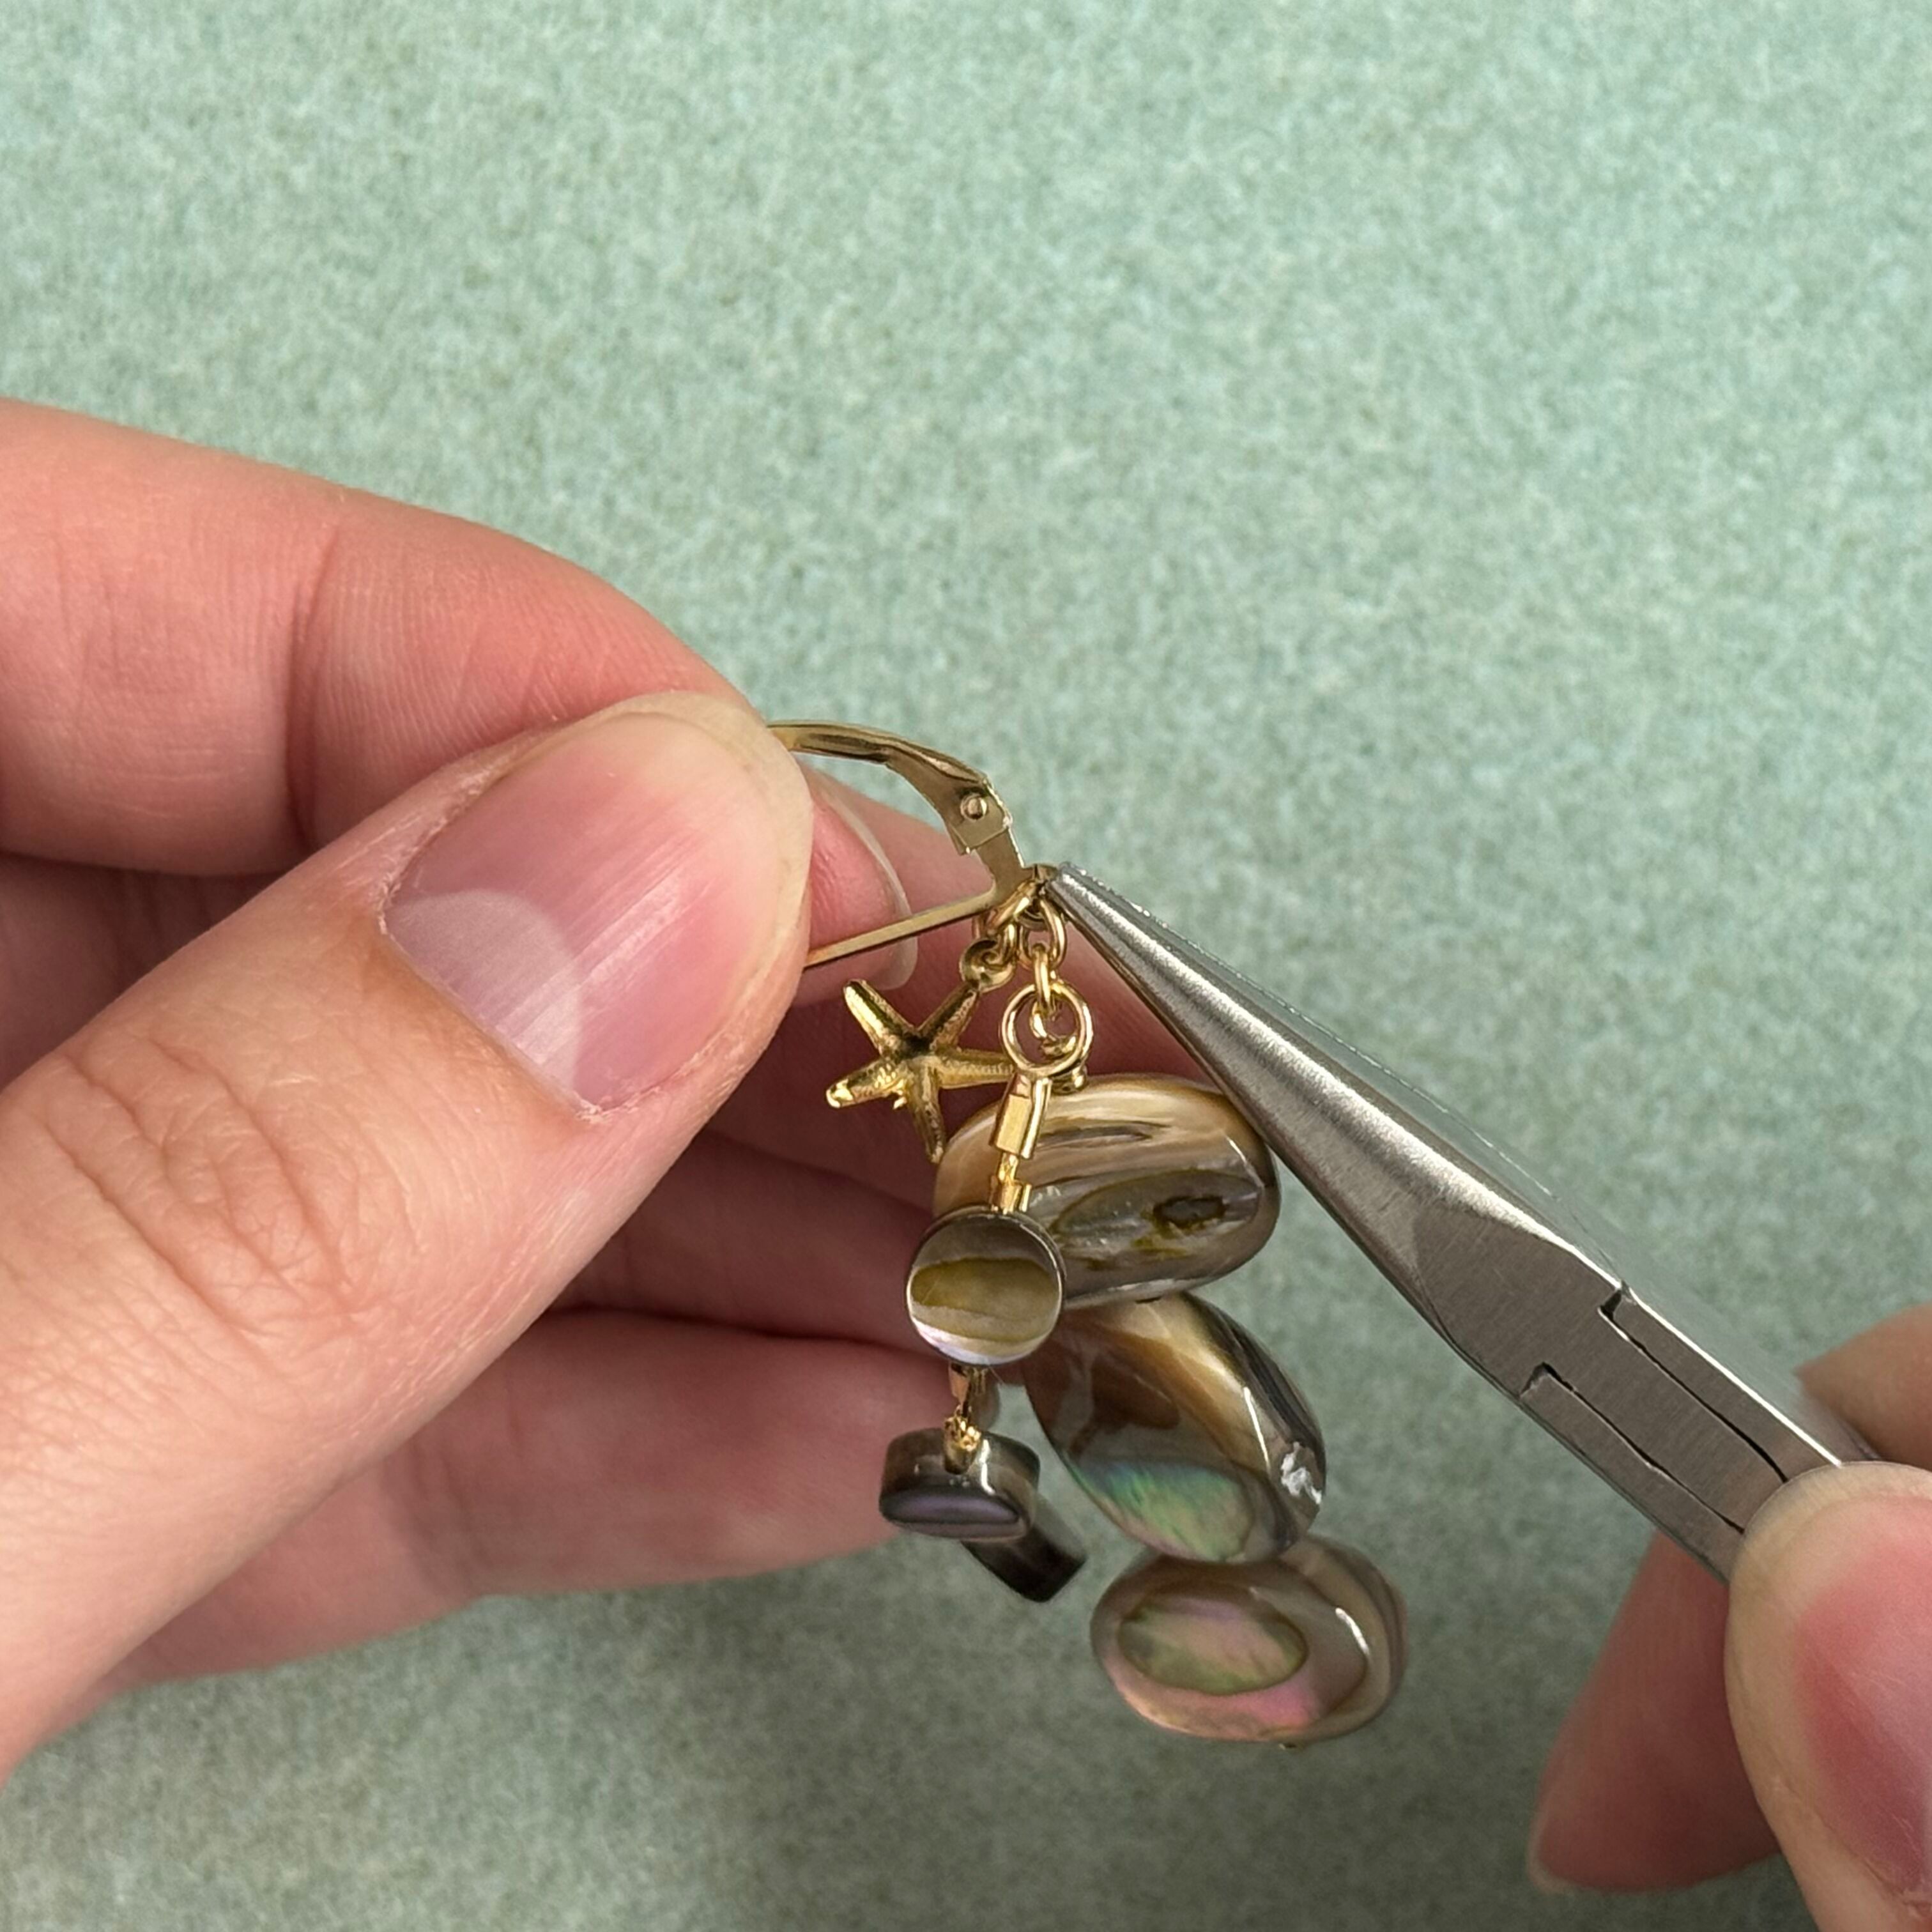
21. Gently open the loop on your ear wires and first attach the starfish charm by the last jump ring and then attach the abalone pendants from the last jump ring. Close ear wire loop.
22. Repeat steps to create second earring. Done!
Recent Posts
-

Cherry Blossom Flower 3D Brick Stitch Earrings
Cherry Blossom Flower 3D Brick Stitch EarringsThese earrings use size 11 Delica beads arranged in th …29th Apr 2024 -

"Abalone Sea" Dangle Earrings
"Abalone Sea" Dangle EarringsIn this tutorial, you'll blend delicate design with the luminescent bea …24th Apr 2024 -

"Gem Keeper" Chain Cage Pendant Necklace
"Gem Keeper" Chain Cage Pendant NecklaceNo hole no problem! Keep anything from gems with no holes, b …29th Mar 2024